


If your furniture legs are cracked, chipped, or generally just looking a little worse for wear, you’ll be amazed by what a good sanding can do for them. A smooth, soft, freshly sanded furniture leg is one of the true joys of a DIY project!
Today, we’ll explain how to sand furniture legs, step by step. Whether you're preparing to stain, paint, or simply smooth out rough edges, knowing the best techniques and tools for sanding furniture legs can save you significant time, effort, and frustration.
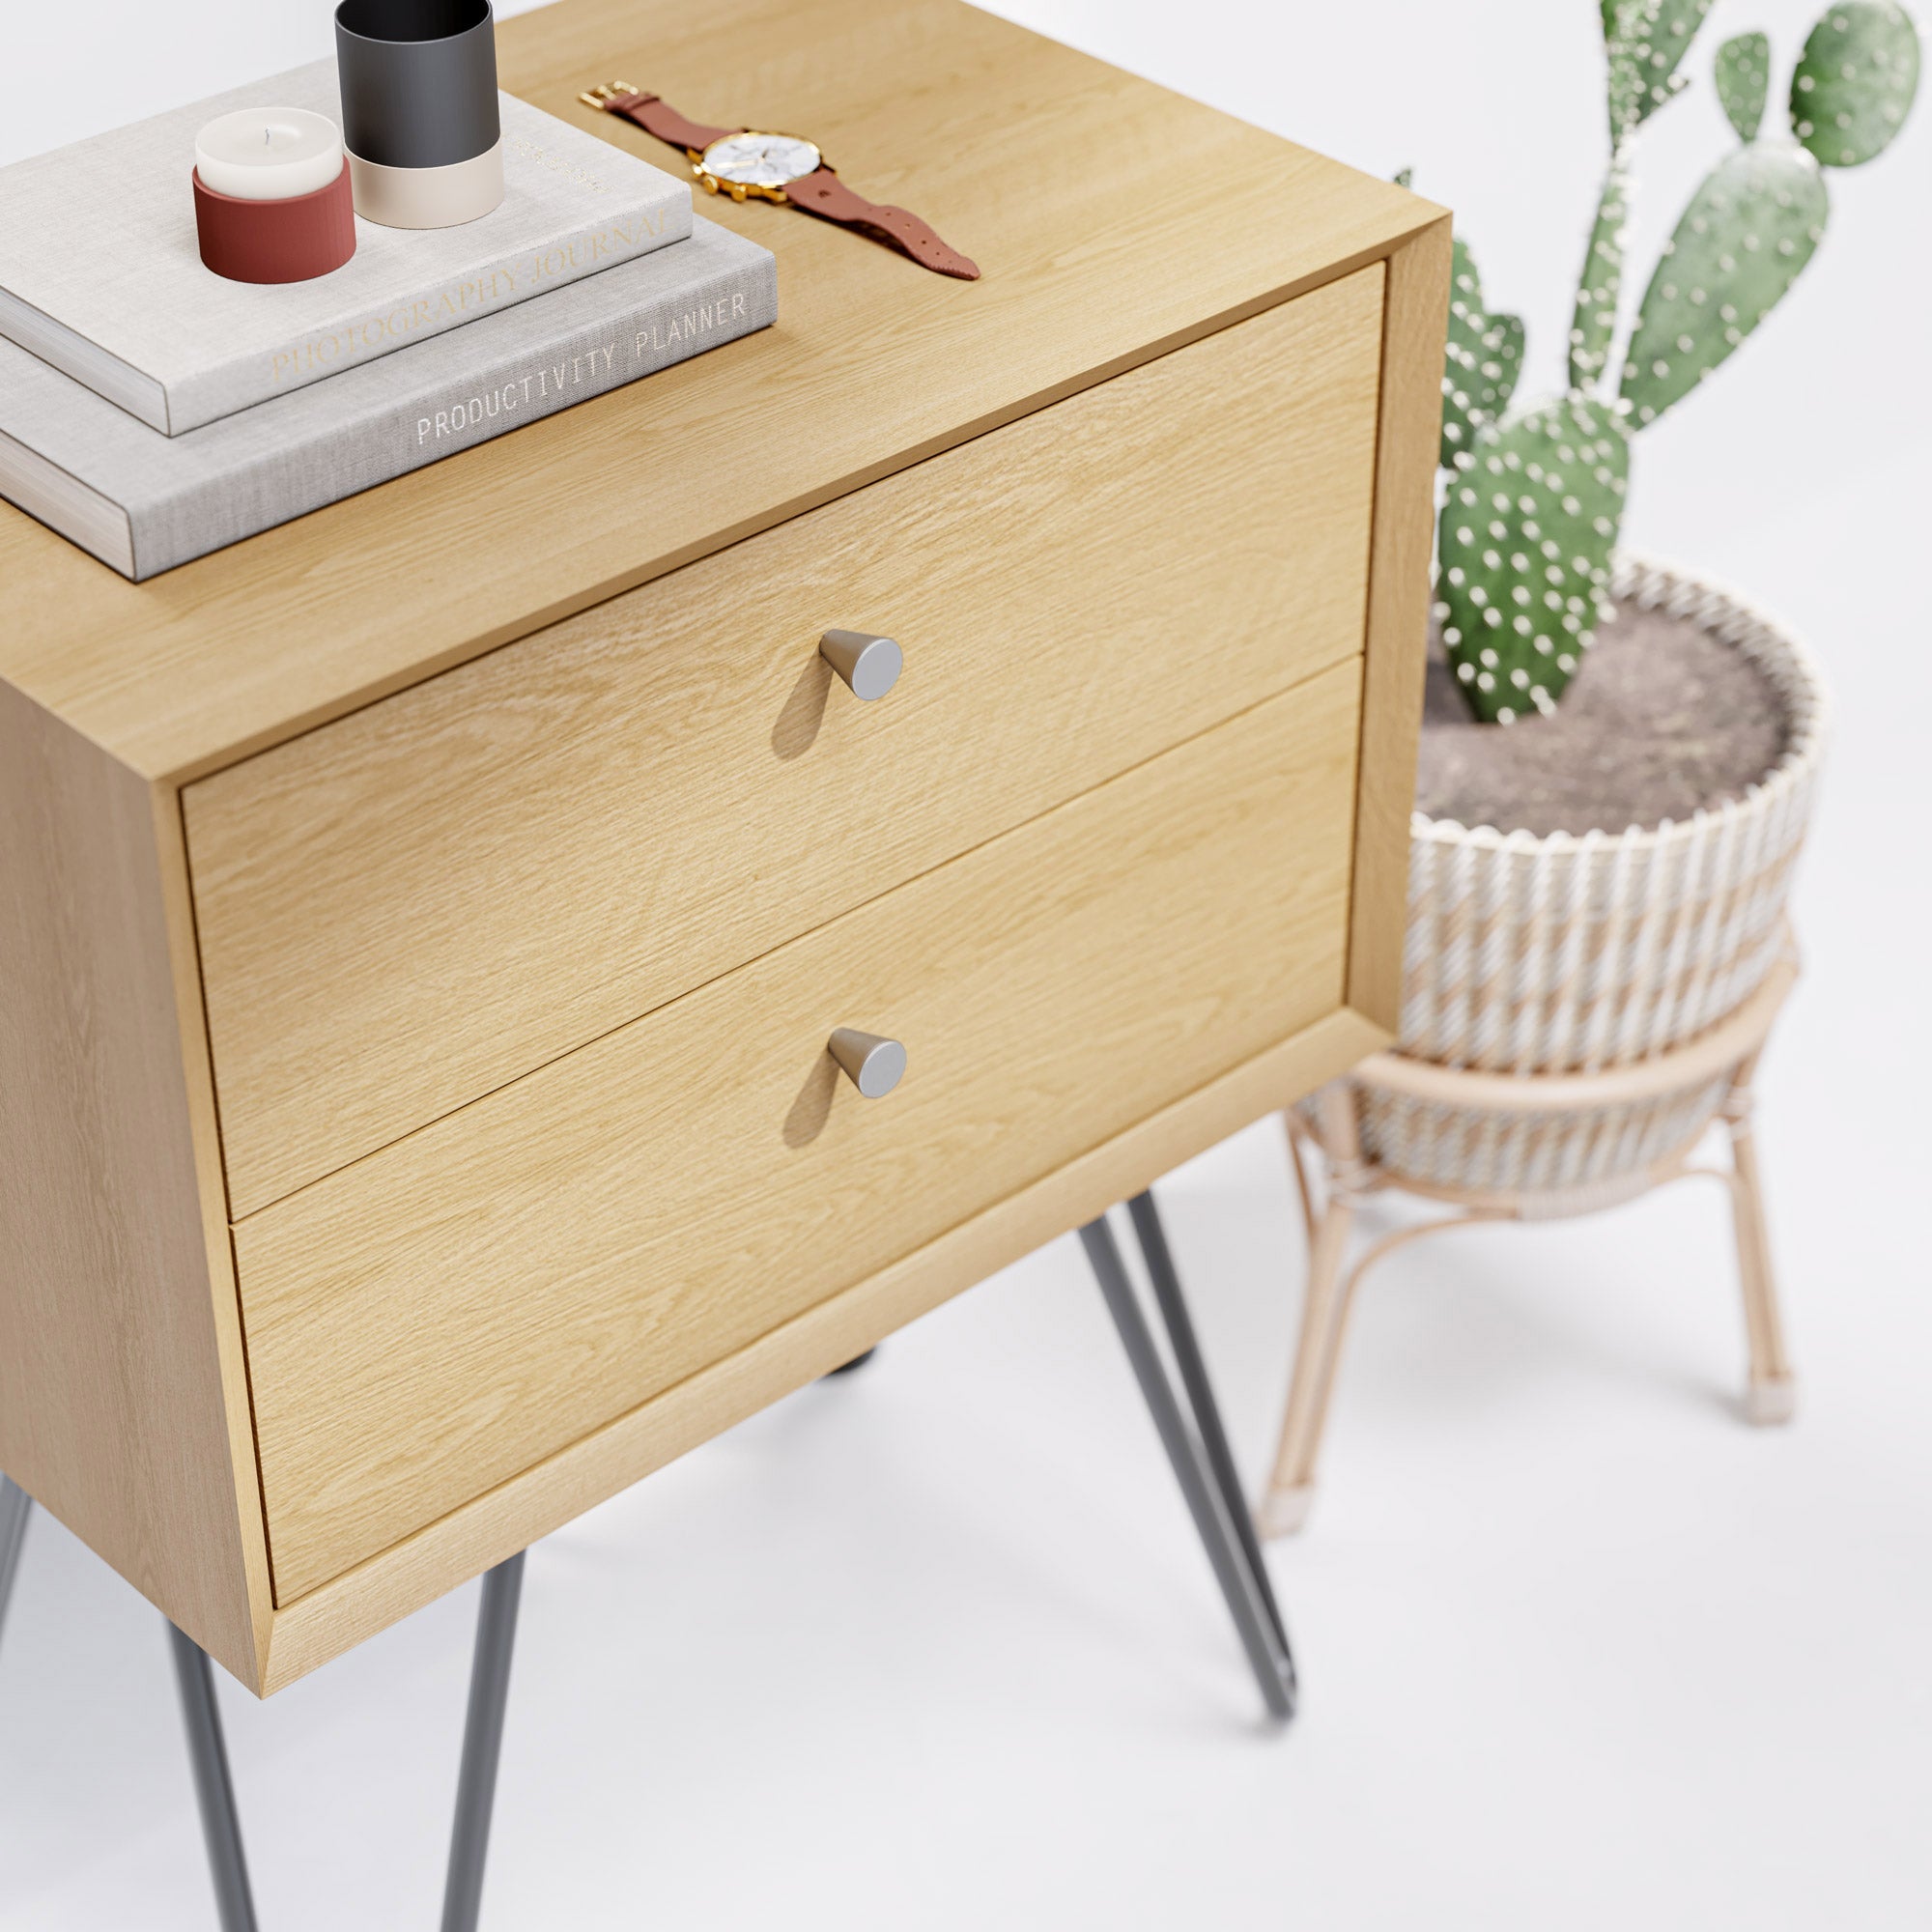
Of course, you could always treat yourself to a brand-new set of furniture legs instead. If you’re looking to update the style of your furniture, create a cohesive design aesthetic, or just breathe some new life into old pieces, find beautiful furniture legs here at The Hairpin Leg Co.!
Our durable furniture legs are manufactured from high-quality materials, and come in a huge selection of colours, styles, and finishes. With 60-day returns, free shipping on UK orders over £50, and expert customer support, there’s nowhere better to find furniture legs for your next DIY project.
Why Sand Furniture Legs?
Learning how to sand furniture legs may seem like a tedious step, but it plays a vital role in achieving a professional, long-lasting finish. Here’s why sanding is an essential part of refinishing furniture legs.
Preparing for a New Finish
Sanding is a crucial step in preparing furniture legs for a fresh coat of paint, stain, or varnish. Old finishes, dirt, and imperfections can prevent new coatings from adhering properly. By sanding, you remove these barriers and create a smooth, even surface that allows the new finish to bond effectively.
This ensures the finish looks consistent and resists peeling or chipping over time - your legs will last significantly longer when you learn how to sand table legs. You can discover more about why sanding is so important in our guide on how to paint furniture legs.
Refreshing Furniture Appearance
Over time, furniture legs can accumulate scratches, dents, and general wear and tear that detract from their overall appearance. Learning how to sand furniture legs removes these blemishes, revealing the natural beauty of the wood underneath.
Whether you’re refinishing a beloved antique or updating a thrifted find, sanding helps restore the legs’ original charm and prepares them to shine with a refreshed look.
Ensuring Durability
Properly sanding furniture legs improves their aesthetic appeal and enhances their durability. By smoothing out rough edges, you reduce the risk of splinters and help prevent premature wear. Also, sanding ensures that the finish forms a strong, protective barrier against moisture and other environmental factors, extending the life of your furniture.
How to Sand Furniture Legs: Step-by-Step Guide to the Best Way to Sand Table Legs
Sanding furniture legs requires patience and attention to detail, but it really does give you a smooth and professional finish. From gathering tools to addressing specific materials, here’s how to sand furniture legs.
Step 1: Gather Tools and Materials
Before you begin, make sure you have everything you need, including:
- Sandpaper in varying grits (coarse, medium, and fine)
- A sanding block or sponge for flat areas
- Contour sanding pads or flexible sandpaper for curves and details
- A clean cloth or tack cloth
- A mask to prevent inhalation of particles
If you’re sanding particularly large furniture legs, or a high volume, you might like to invest in an orbital sander for larger or flatter sections, but for smaller projects it’s not normally necessary.
Step 2: Clean the Furniture Legs
Remove any dust, dirt, or debris from the furniture legs using a damp cloth. Cleaning the surface ensures that you don’t press dirt particles into the wood during sanding, which could scratch or damage the material. Let the legs dry completely before moving on.
Step 3: Start With Coarse Grit Sandpaper
Once you’re done cleaning, the best way to sand table legs is to start with coarse-grit sandpaper (around 60-80 grit) to remove old finishes, paint, or stains. Use a sanding block for flat areas and flexible sandpaper for curved or detailed sections.
Always work with the grain of the wood to prevent scratches and achieve an even, smooth surface. Take care to reach into grooves or carvings, using contour sanding tools as needed.
Step 4: Smooth the Surface with Medium Grit
When the old finish is removed, switch to medium-grit sandpaper (100-150 grit). This step refines the surface by smoothing out any roughness left behind by the coarse grit. Continue to work with the grain and apply even pressure to avoid uneven sanding.
Step 5: Finish with Fine Grit Sandpaper
To achieve a polished, smooth surface, use fine-grit sandpaper (220 grit or higher). This final pass removes any remaining imperfections and prepares the wood for staining, painting, or sealing. Pay extra attention to curved or intricate areas, ensuring no rough spots remain.
Step 6: Clean the Surface
After sanding, thoroughly clean the furniture legs with a clean or tack cloth to remove all sanding dust. Any leftover dust can interfere with the application of stains or paints, so it’s essential to ensure the surface is spotless before you move on.
Tips for Specific Materials
The steps for how to sand furniture legs we’ve outlined above relate to wooden furniture legs, which are the most common type to sand. That said, you can sand many other types of table legs as well, including metal, veneer, and painted surfaces.
For metal furniture legs, make sure you’re using sandpaper that’s specifically designed for metal. You may also like to use a wire brush to remove rust or old paint. If you’re sanding veneer, be extra cautious - the thin layer of wood can be easily worn away. Stick to fine-grit sandpaper and light pressure.
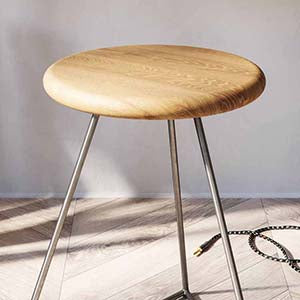
Like the material, the shape and types of furniture legs you’re working with also affect your sanding technique. In terms of how to sand round furniture legs or spindles, you might find you need a lathe.
What Now?
So, you’ve figured out the best way to sand table legs and your legs are now as smooth as can be! After sanding, it’s time to choose and apply a finish, before the final step of reattaching the legs to your furniture.
Choose a Finish and Get it Applied
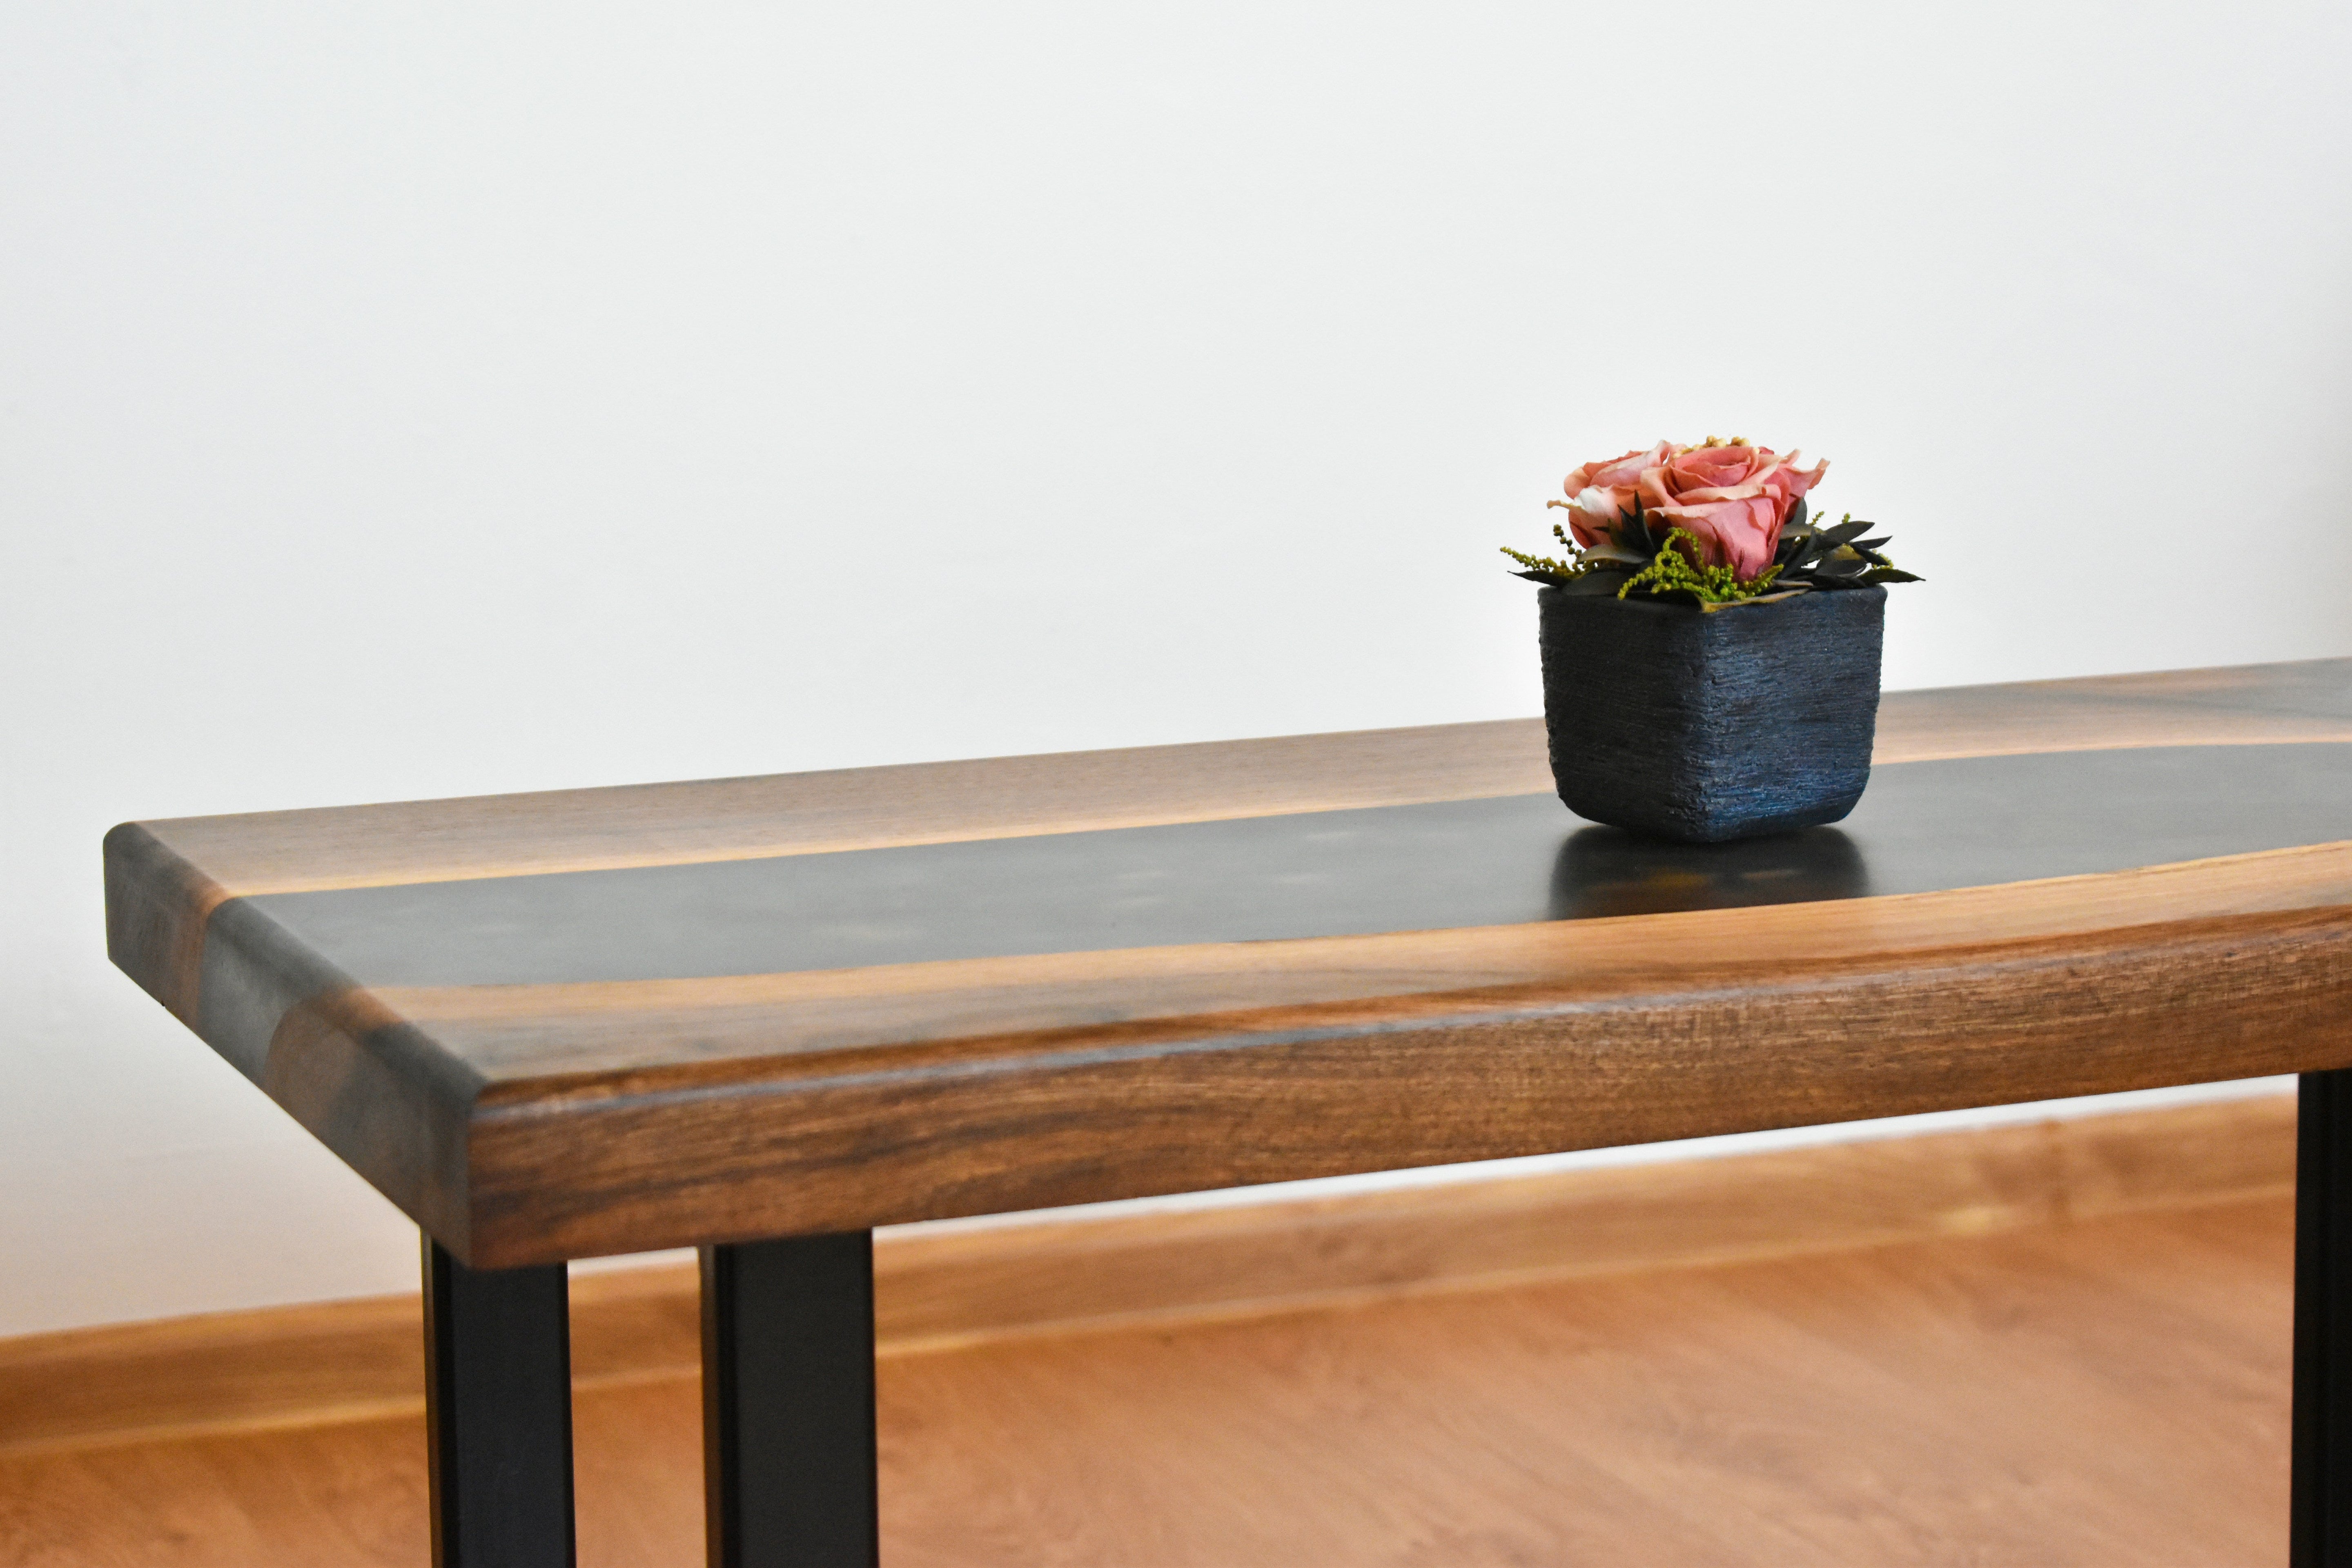
With the surface fully prepped, decide on the type of finish that suits your furniture piece and aesthetic goals. For example, stain enhances the natural grain of wooden furniture legs while adding colour, making it ideal for classic or rustic looks.
Paint, on the other hand, is great for bold colours or modern styles, and it can also help cover imperfections in DIY dining table legs. You can paint wooden or metal table legs, though it’s important to understand what metal is used for table legs and make sure you choose a paint that will adhere properly.
Other finish options include varnish or polyurethane, which protect the wood and give it a shiny or matte finish. These are both good choices if you’re working with highly functional types of dining table legs and furniture that get a lot of use.
For more finishing tips, check out our guides on how to change dining table legs and how to restore metal table legs.
Reattach or Assemble the Legs
If you removed the legs from the furniture piece for sanding, now is the time to reattach them. Use the original screws, bolts, or connectors, ensuring everything is tightened securely. Check for stability to avoid wobbly or uneven legs.
Our resources on how to install furniture legs, the best way to connect table legs, and how to install hairpin legs have some more helpful tips. Also, don’t forget about your floors! Even sanded furniture legs can cause scratches - learn how to protect carpet from furniture legs and how to protect wood floors from furniture legs.
When to Consider Replacing Legs
Sometimes, learning how to sand table legs isn’t enough to restore furniture legs, especially if they’re heavily damaged, warped, or cracked. If your efforts reveal significant structural issues, consider replacing the legs entirely.
Replacing legs can also be a great opportunity to update the look of your furniture. For instance, swapping outdated sofa legs for sleek, modern hairpin legs can transform the piece entirely. Just make sure the new legs are compatible with the furniture’s design and dimensions.
If you’re wondering how to fix wobbly dining table legs, or how to fix table legs that are chipped and cracked, sometimes you’re better off cutting your losses and starting with a fresh set of legs, especially if the rest of your furniture is in good shape and doesn’t need sanding or painting.
Discover the Perfect Furniture Legs For Your Next Project at The Hairpin Leg Co.!
Speaking of brand-new furniture legs, you can find the perfect cabinet legs, desk legs, footstool legs, and much more here at The Hairpin Leg Co.! Whether you're upgrading a vintage piece, building something from scratch, or giving an old table a modern twist, we have you covered.
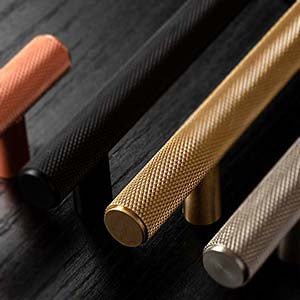
With a wide range of high-quality furniture legs designed to suit every style, you can find the perfect match to elevate your DIY project. From sleek hairpin bed legs to industrial steel coffee table legs, we offer a diverse selection of styles, heights, and finishes to suit your design vision.
What makes ours the best metal table legs? Crafted from durable materials, our furniture legs are built to last, offering both stability and style for years to come. Plus, our legs are designed for hassle-free assembly, complete with pre-drilled holes and optional fixings to simplify your project.
Whether you’re looking for elegant bar table legs or heavy-duty dining table legs, we have the perfect legs to take your furniture project to the next level. Explore our collection at The Hairpin Leg Co. and find the perfect legs to make your vision a reality!
Wrapping Up Our Guide on How to Sand Table Legs
Hopefully, you now have a better idea of how to sand table legs. For more DIY furniture tips, you can also check out our guides on how to attach table legs, coffee table leg length, and how long are dining table legs.
Sanding furniture legs may require some effort and attention to detail, but the results are well worth it. Whether you’re refinishing a beloved antique, updating a thrift store find, or working on a custom DIY piece, following the techniques and tips in this guide will give you smooth, professional table legs.
And, if you don’t have the time to learn how to sand furniture legs, or if you’re dealing with legs that are past the point of repair, you can revitalise your furniture with new legs from The Hairpin Leg Co.
With a huge selection of stylish designs to choose from, we can completely transform your furniture into cohesive, matching pieces that perfectly suit your aesthetic. Plus, our legs are built to last, easy to install, and come with 60-day returns and a 5-year warranty.
So, what are you waiting for?! Bring out the best in your furniture with quality legs from The Hairpin Leg Co.

Leave a comment
This site is protected by hCaptcha and the hCaptcha Privacy Policy and Terms of Service apply.