If you've ever lived in shared student accommodation, or moved into an unfurnished home, then you've probably experienced life without a dining table.
It's a sad situation. The dining table is the heart of the home. It's where your friends and family gather to share food, play games and celebrate special occasions.
If only it was easy to make your own... 😏
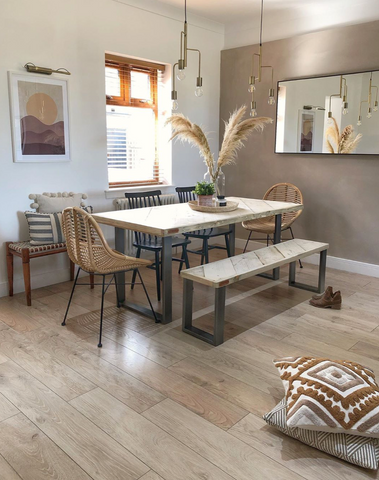
Image: @hallie_and_harrisons_house
This step-by-step guide shows you exactly how to make a dining table everyone will love, so let's crack on.
1. Choose your table size
To start, work out how much room you have for your table.
You’ll need roughly 100cm behind the table on all sides, so each person can push their chair back comfortably.
Use the guide below to work out a suitable shape and size for your table, based on how many people you want to seat.
|
Round/Square table (By Diameter/Length) |
Seats |
|
80cm |
2 |
|
120cm |
4 |
|
160cm |
6-8 |
|
180cm |
8-10 |
|
Rectangular/Oval table (Width x Length) |
Seats |
|
80 x 60cm |
2 |
|
120 x 80cm |
4 |
|
180 x 90cm |
6-8 |
|
250 x 100cm |
8-10 |
2. Choose your legs
Industrial box section legs

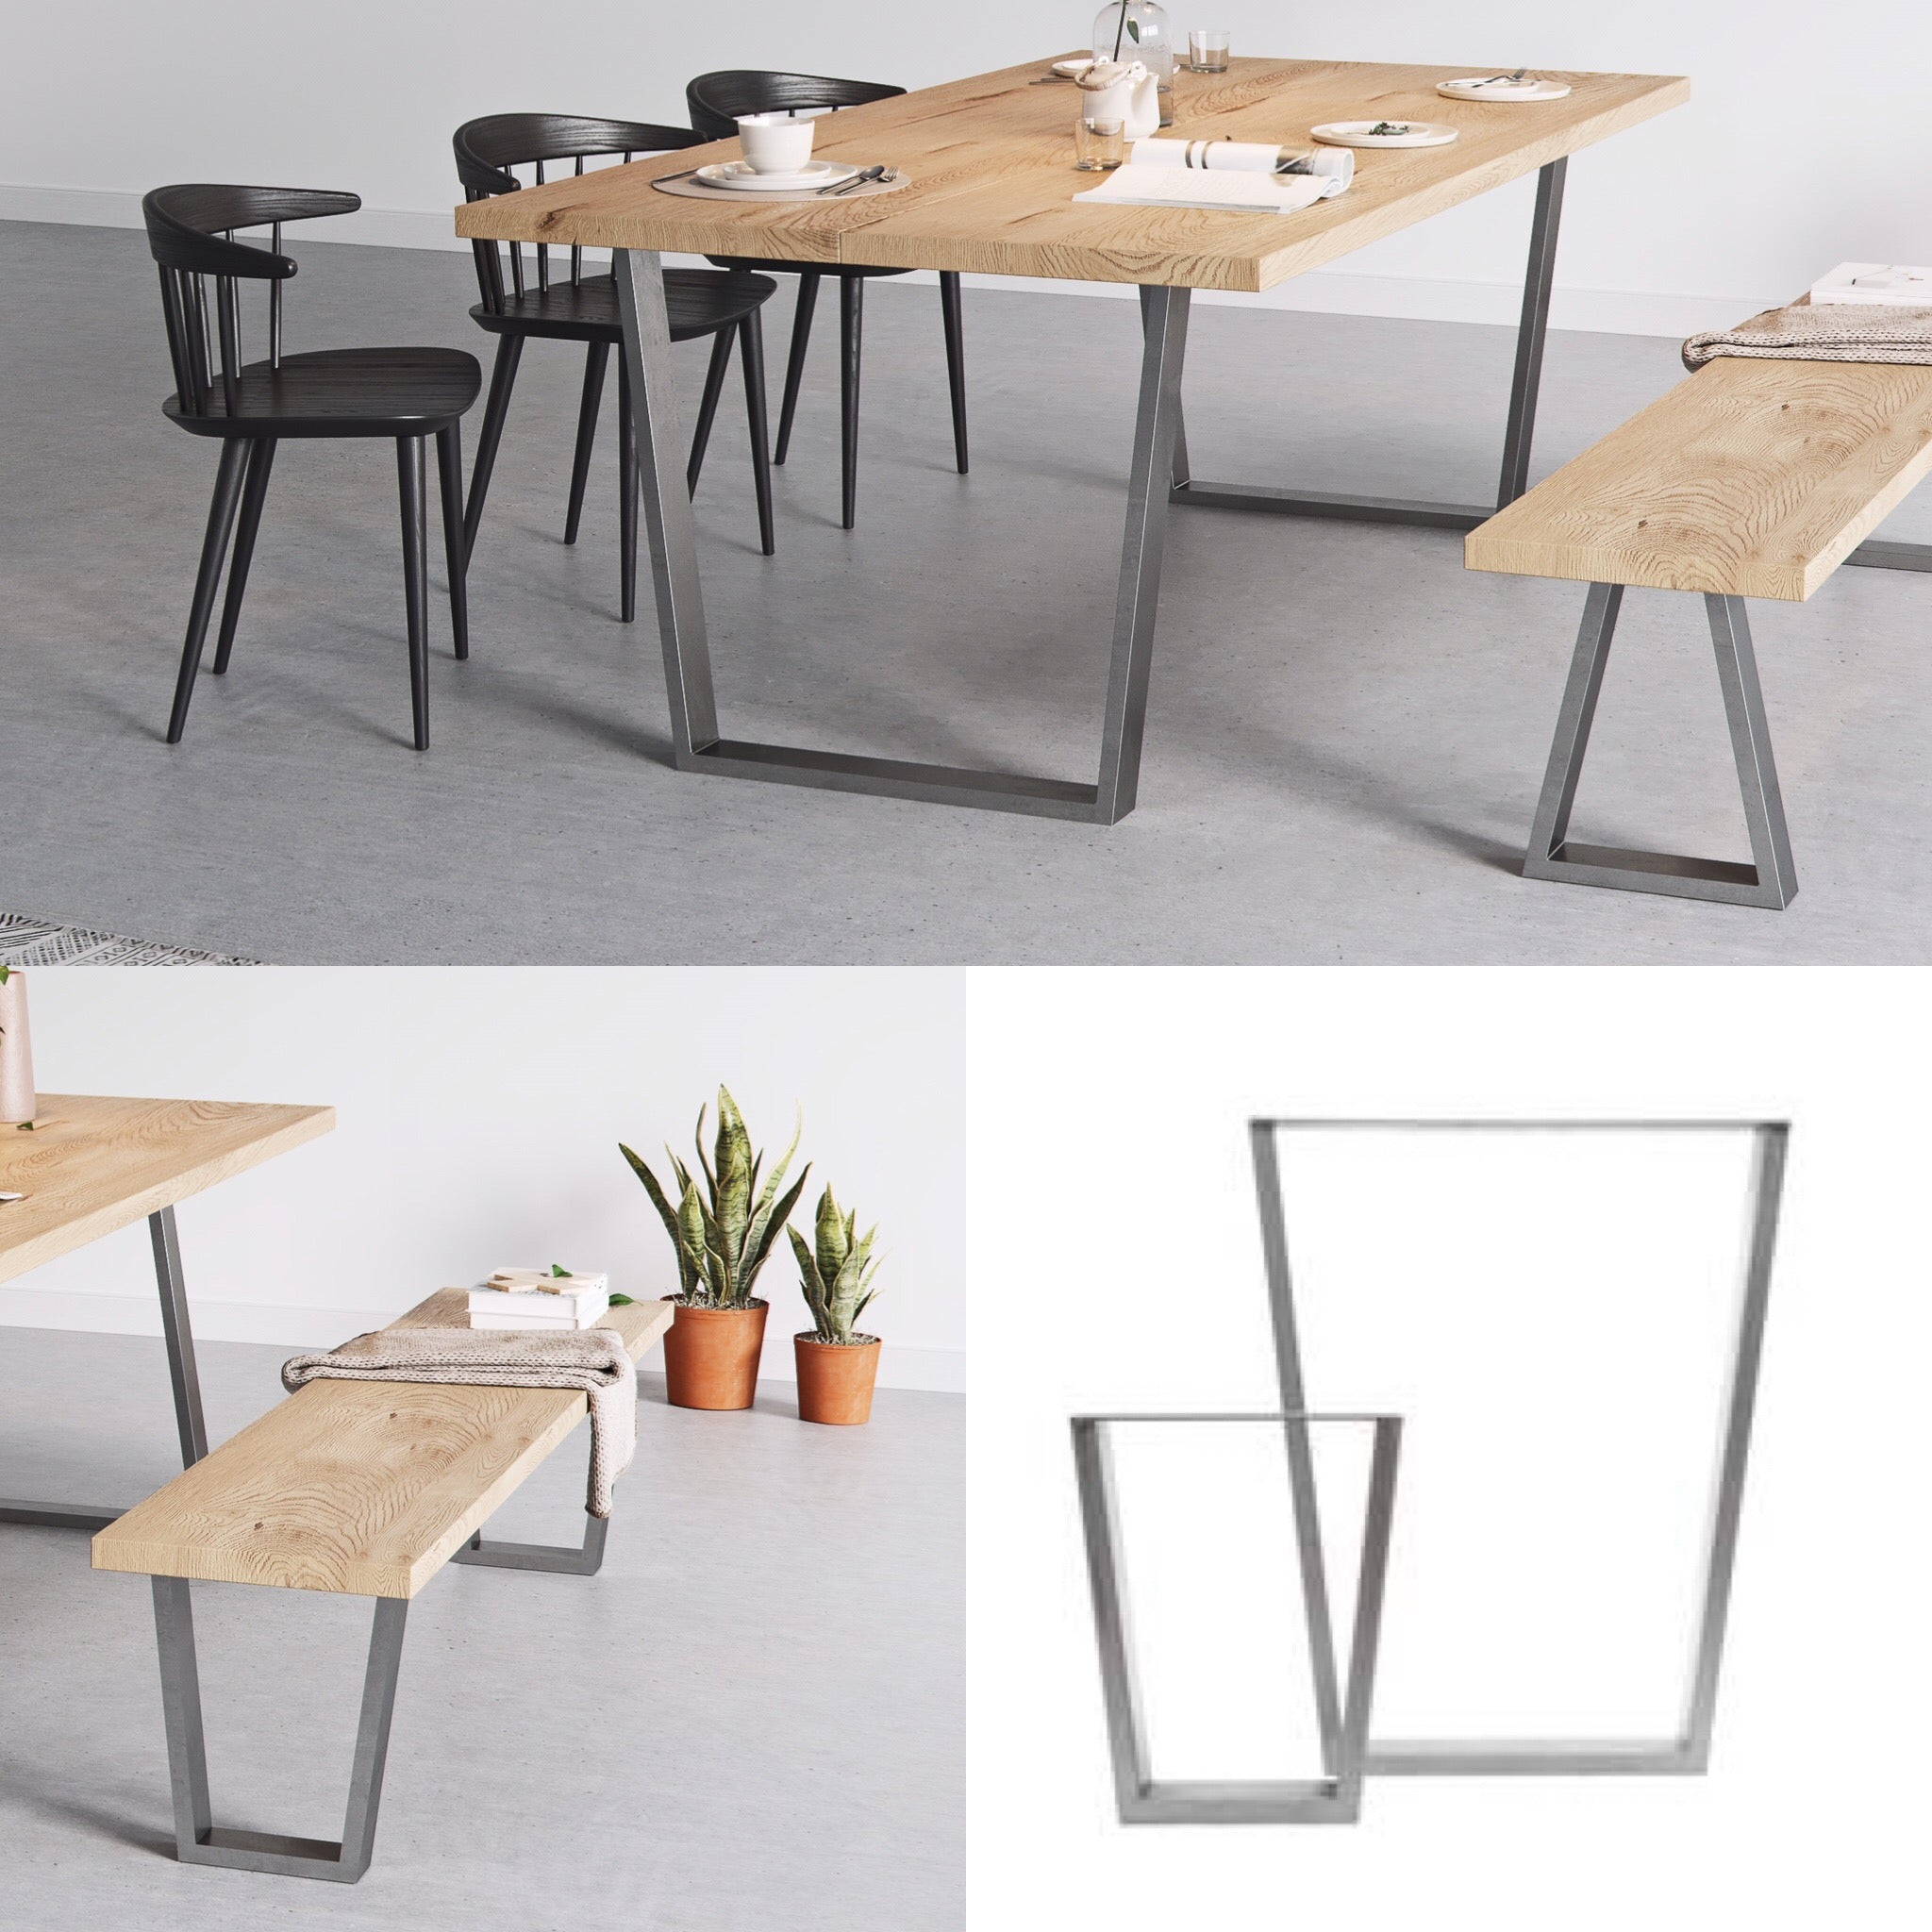
Our box section legs are available in four styles – Trapezium, A-frame, V-frame and Square.
All come in standard and wide fit. Use the guide below to find which is best suited to your table top.
Standard-width Industrial legs
Recommended table top width: 60cm- 120cm

Wide Industrial legs
Recommended table top width: 80cm- 150cm

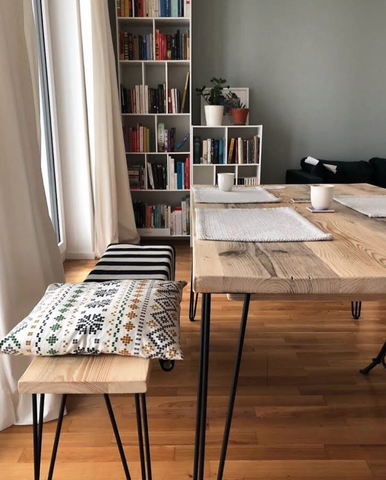
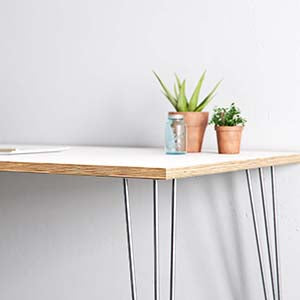
Hairpin legs

Hairpin legs are another great option for a simple, midcentury-style table. Their slender, minimal nature makes them great if you don't want to distract the eye too much from the natural beauty of your tabletop.
Our hairpin legs are available in a selection of shapes, sizes and colours.
For tables up to 25kg, we recommend 2-rod, 28" legs.
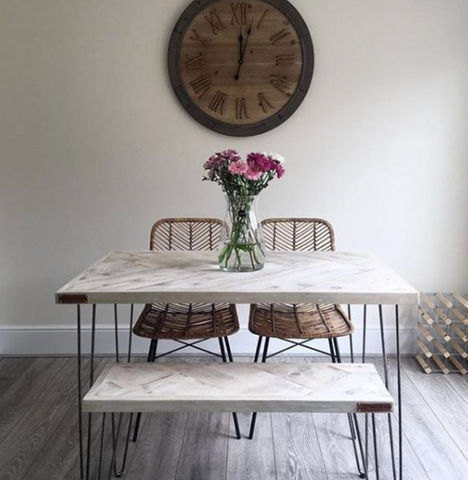
Image: @upcycle.u.k
For anything larger, use our 3-rod 28" legs.
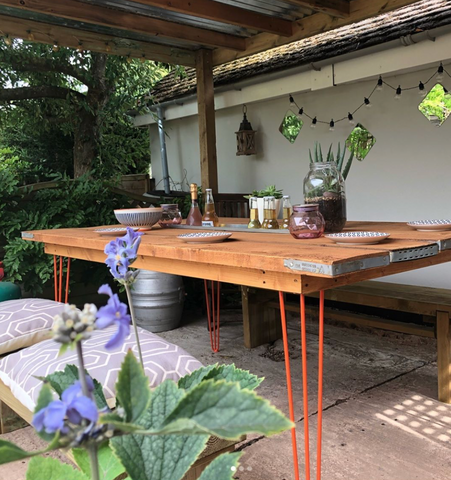
Image: @blue_piccadilly
Our hairpin leg selector guide will give you more detailed information.
3. Paint your legs (Optional)
Our hairpin and industrial legs come in a selection of colours, but if you'd like a custom look (like these gold beauties) use our guide on how to paint your table legs. The guide uses hairpin legs, but all the same rules apply for our box section legs.
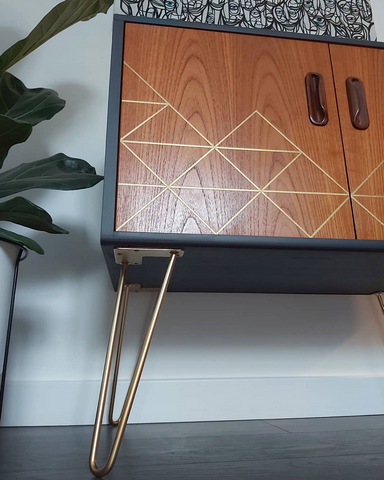
Image: @designretrobrighton (Hairpin legs painted Metallic Gold)
4. Position your legs
Before you attach your legs, mark out their position on your table top.
Use this guide to work out where is best to place them:
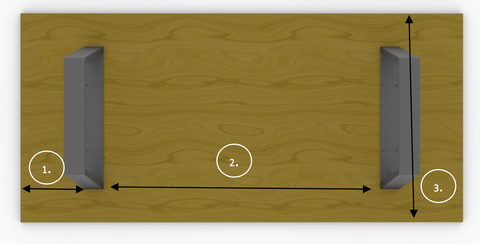
1. End overhang
This can be anywhere from 0cm, to 25% of your overall table length. A larger overhang makes it more comfortable to sit at the end of the table.
2. Main span
Make sure your table top can withstand its length. If it’s not strong enough, it could bow or break.
For this reason, we advise against wooden tops under 20mm. That’s unless you’re constructing a sub-frame or supportive brace.
The thicker the wood, the longer the main span can be. As a guide, if you’re using a 30mm Birch plywood, we’d recommend a maximum main span of 1.8m.
If you’re unsure whether your table top is strong enough, speak to your material supplier. They should be able to advise you.
If you have a thinner piece of wood, you can reinforce it by attaching angle iron, steel box or sections of timber to support the top.
TIP: Cut a 45˚ chamfer on the end of the support material. This is always a good idea, to stop people catching their legs on it.
3. Width
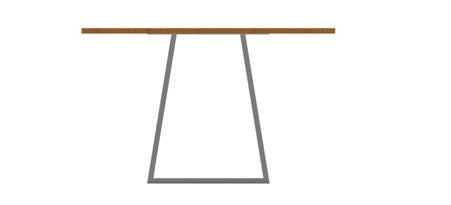
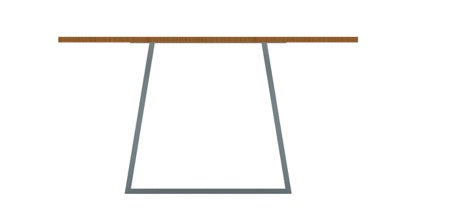
Our industrial legs are available in standard and wide fit. Use the guide below to find which is best suited to your table top.
Standard-width Industrial legs – Recommended table top width: 60cm- 120cm
Wide Industrial legs – Recommended table top width: 80cm- 150cm
5. Ensure there's enough legroom
If you plan to sit people at the table ends, you’ll need to leave space for their legs to fit between the table legs.
The images below show the width of each of our industrial legs at average knee-height (50cm).
Standard-width Industrial legs
Trapeziums: 36cm
A-frame: 26cm
V-frame: 48cm
Square: 53cm
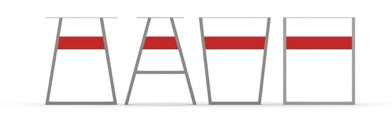
Wide Industrial legs
Trapeziums: 56cm
A frame: 46cm
V frame: 68cm
Square: 73cm
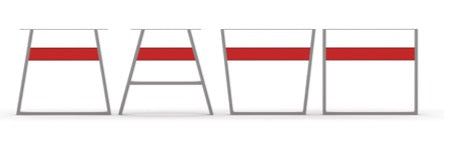
We suggest leaving a 30cm end overhang for Trapezium and V-frame legs, or 40cm for A-frame.
Most chairs fit easily between Square legs, so you can position them as close to the table edge as you like.
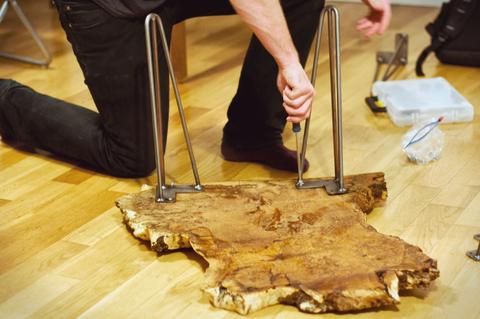
6. Attach the legs
We include a set of wood screws with your legs. These will be perfect for wood tops between 20mm- 30mm.
If your table top is bigger than 150 X 75cm, we recommend longer screws or bolts. This will give you a more secure fit.
Mark out the pilot holes with a pencil. Use the base of the leg as a guide to mark the positions accurately.
Once the holes are marked, drill pilot holes into the wood. If you’re using the screws provided, they’ll need to be 2.5mm for soft wood or 3mm for hard wood.
TIP: Mark the correct depth on your drill bit with a bit of masking tape. You don’t want to drill through your lovely table top!
Screw the legs to your surface with a Pozidriv head (Number 2 head, if you have it).
Bolting
Metal
Threaded bolts are easy to take on and off. They're great if you have a thin table top or you're planning to drill a through-hole.
We recommend an M5 fixing (5mm in diameter). The holes are 6mm, giving you room for any slight misalignment.
Wood
We'd recommend threaded inserts for bolting into wood. Stainless steel or brass inserts are much more robust than zinc-plated ones, especially if you're driving into hard woods like oak.
7. Enjoy your new table!
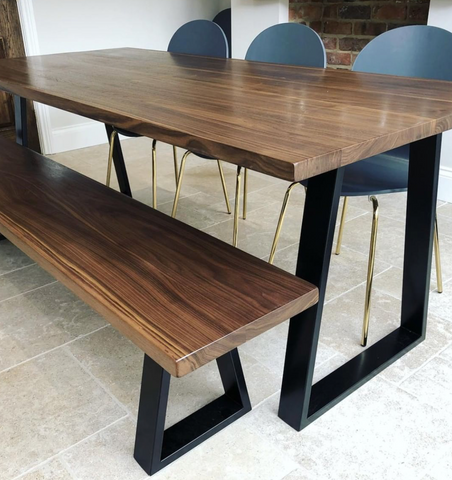
Image: @traditionalbeams





3 comments
Leave a comment
This site is protected by hCaptcha and the hCaptcha Privacy Policy and Terms of Service apply.