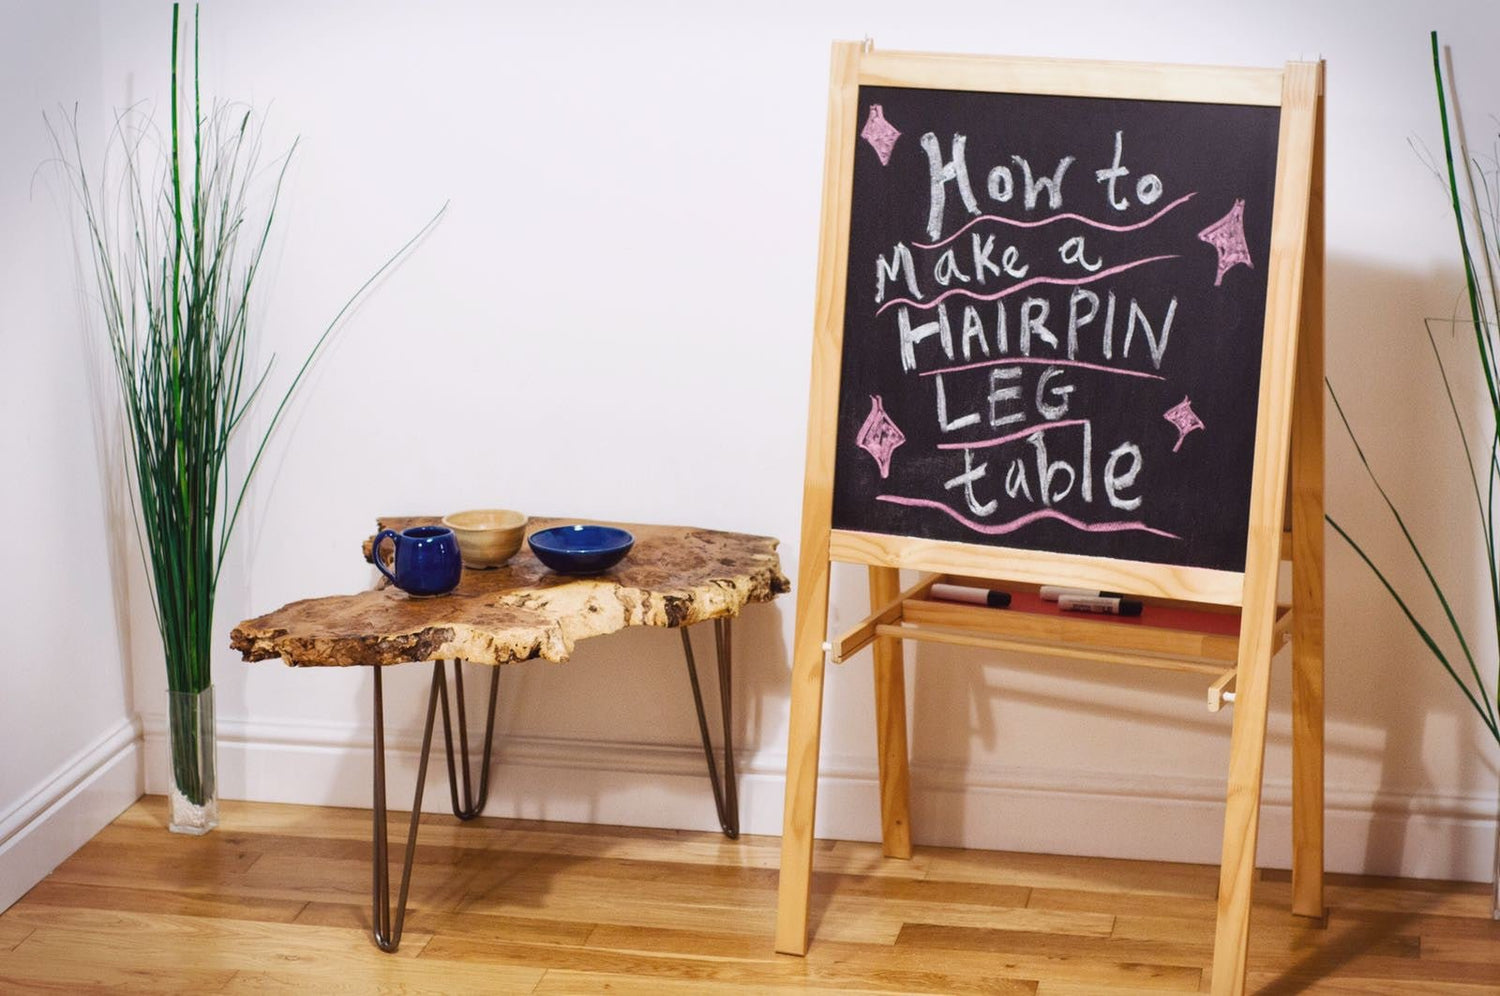
To inspire you to try a spot of weekend DIY, we're going to show you how easy it is to make your own unique hairpin leg table using a natural slab of wood.
All you need is your chosen piece of wood, hairpin legs, screws and (if you'll be cleaning up raw wood) the following tools:

Find the wood for your table
The beauty of hairpin legs is you can use them to create your own furniture using almost any kind of wood you can get your hands on – from manmade boards, to reclaimed wood (such as old doors, pallets, floorboards cable reel tops), to natural slabs.
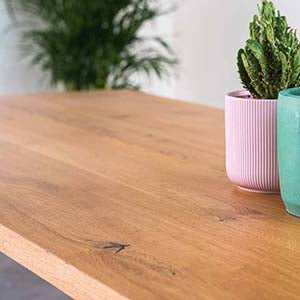
We used this lovely piece of bur oak, found tucked behind some furniture in an antique shop in Stroud, Gloucestershire.

To find a good slab, try your local saw mill or a timber supplier.
Prepare your wood
This sounds a bit dirty. Which is apt because, if you're using a natural slab, it's the grubbiest bit of the job. It requires a bit of good old fashioned scrubbing with a wire brush.
We needed to rasp sap and soft wood off the live edge of our burr, as well as a few areas of rotten wood. We then sanded the wood down to make it nice and smooth.
Manmade boards and reclaimed wood normally require less pre-prep. However they will probably need cutting to size and a little bit of sanding to smooth them out.
Preserve your wood
Science time. Wood is a living, breathing element – constantly absorbing and releasing moisture from and into the air. In doing so, it expands and contracts. And if it does this too fast, it can split.
Wood sealant – such as oil, wax, varnish or paint – closes the pores to preserve its state, and stop it from cracking.
We used Blanchon Hard Waxoil, a wax and oil combo, to give a more natural finish. Wax and oil options help bring out the detail of the grain, darkening it slightly but retaining its overall aesthetic.
Varnish on the other hand gives the wood a very smooth, a more polished feel.
Paint changes the original look completely, but can be a great option if you’re using low quality reclaimed wood.

Use a rag or paintbrush to apply the sealant. Cover all surfaces of the wood, including the edges, and double coat for added protection.
Choose your hairpin legs

Hairpin legs come in many shapes and sizes, to suit all sorts of furniture.
The three considerations when choosing your legs are:
Size
The length of the legs is usually determined by the type of project, whether it's a low coffee table, a side table or a bench.
For this table, we've used our popular 16 inch legs.
Strength
As a general rule, two rod legs suit the majority of projects. Three rods add reinforcement for when the surface is very heavy, recommended for desk and dining room tables.
In this instance, we chose three rod legs as we thought they complimented the aesthetic of the wood.
Finish
We used raw steel legs for a more rustic look, matching the nature of the wood. But you can also use clear coated or painted legs.
Attach your hairpin legs
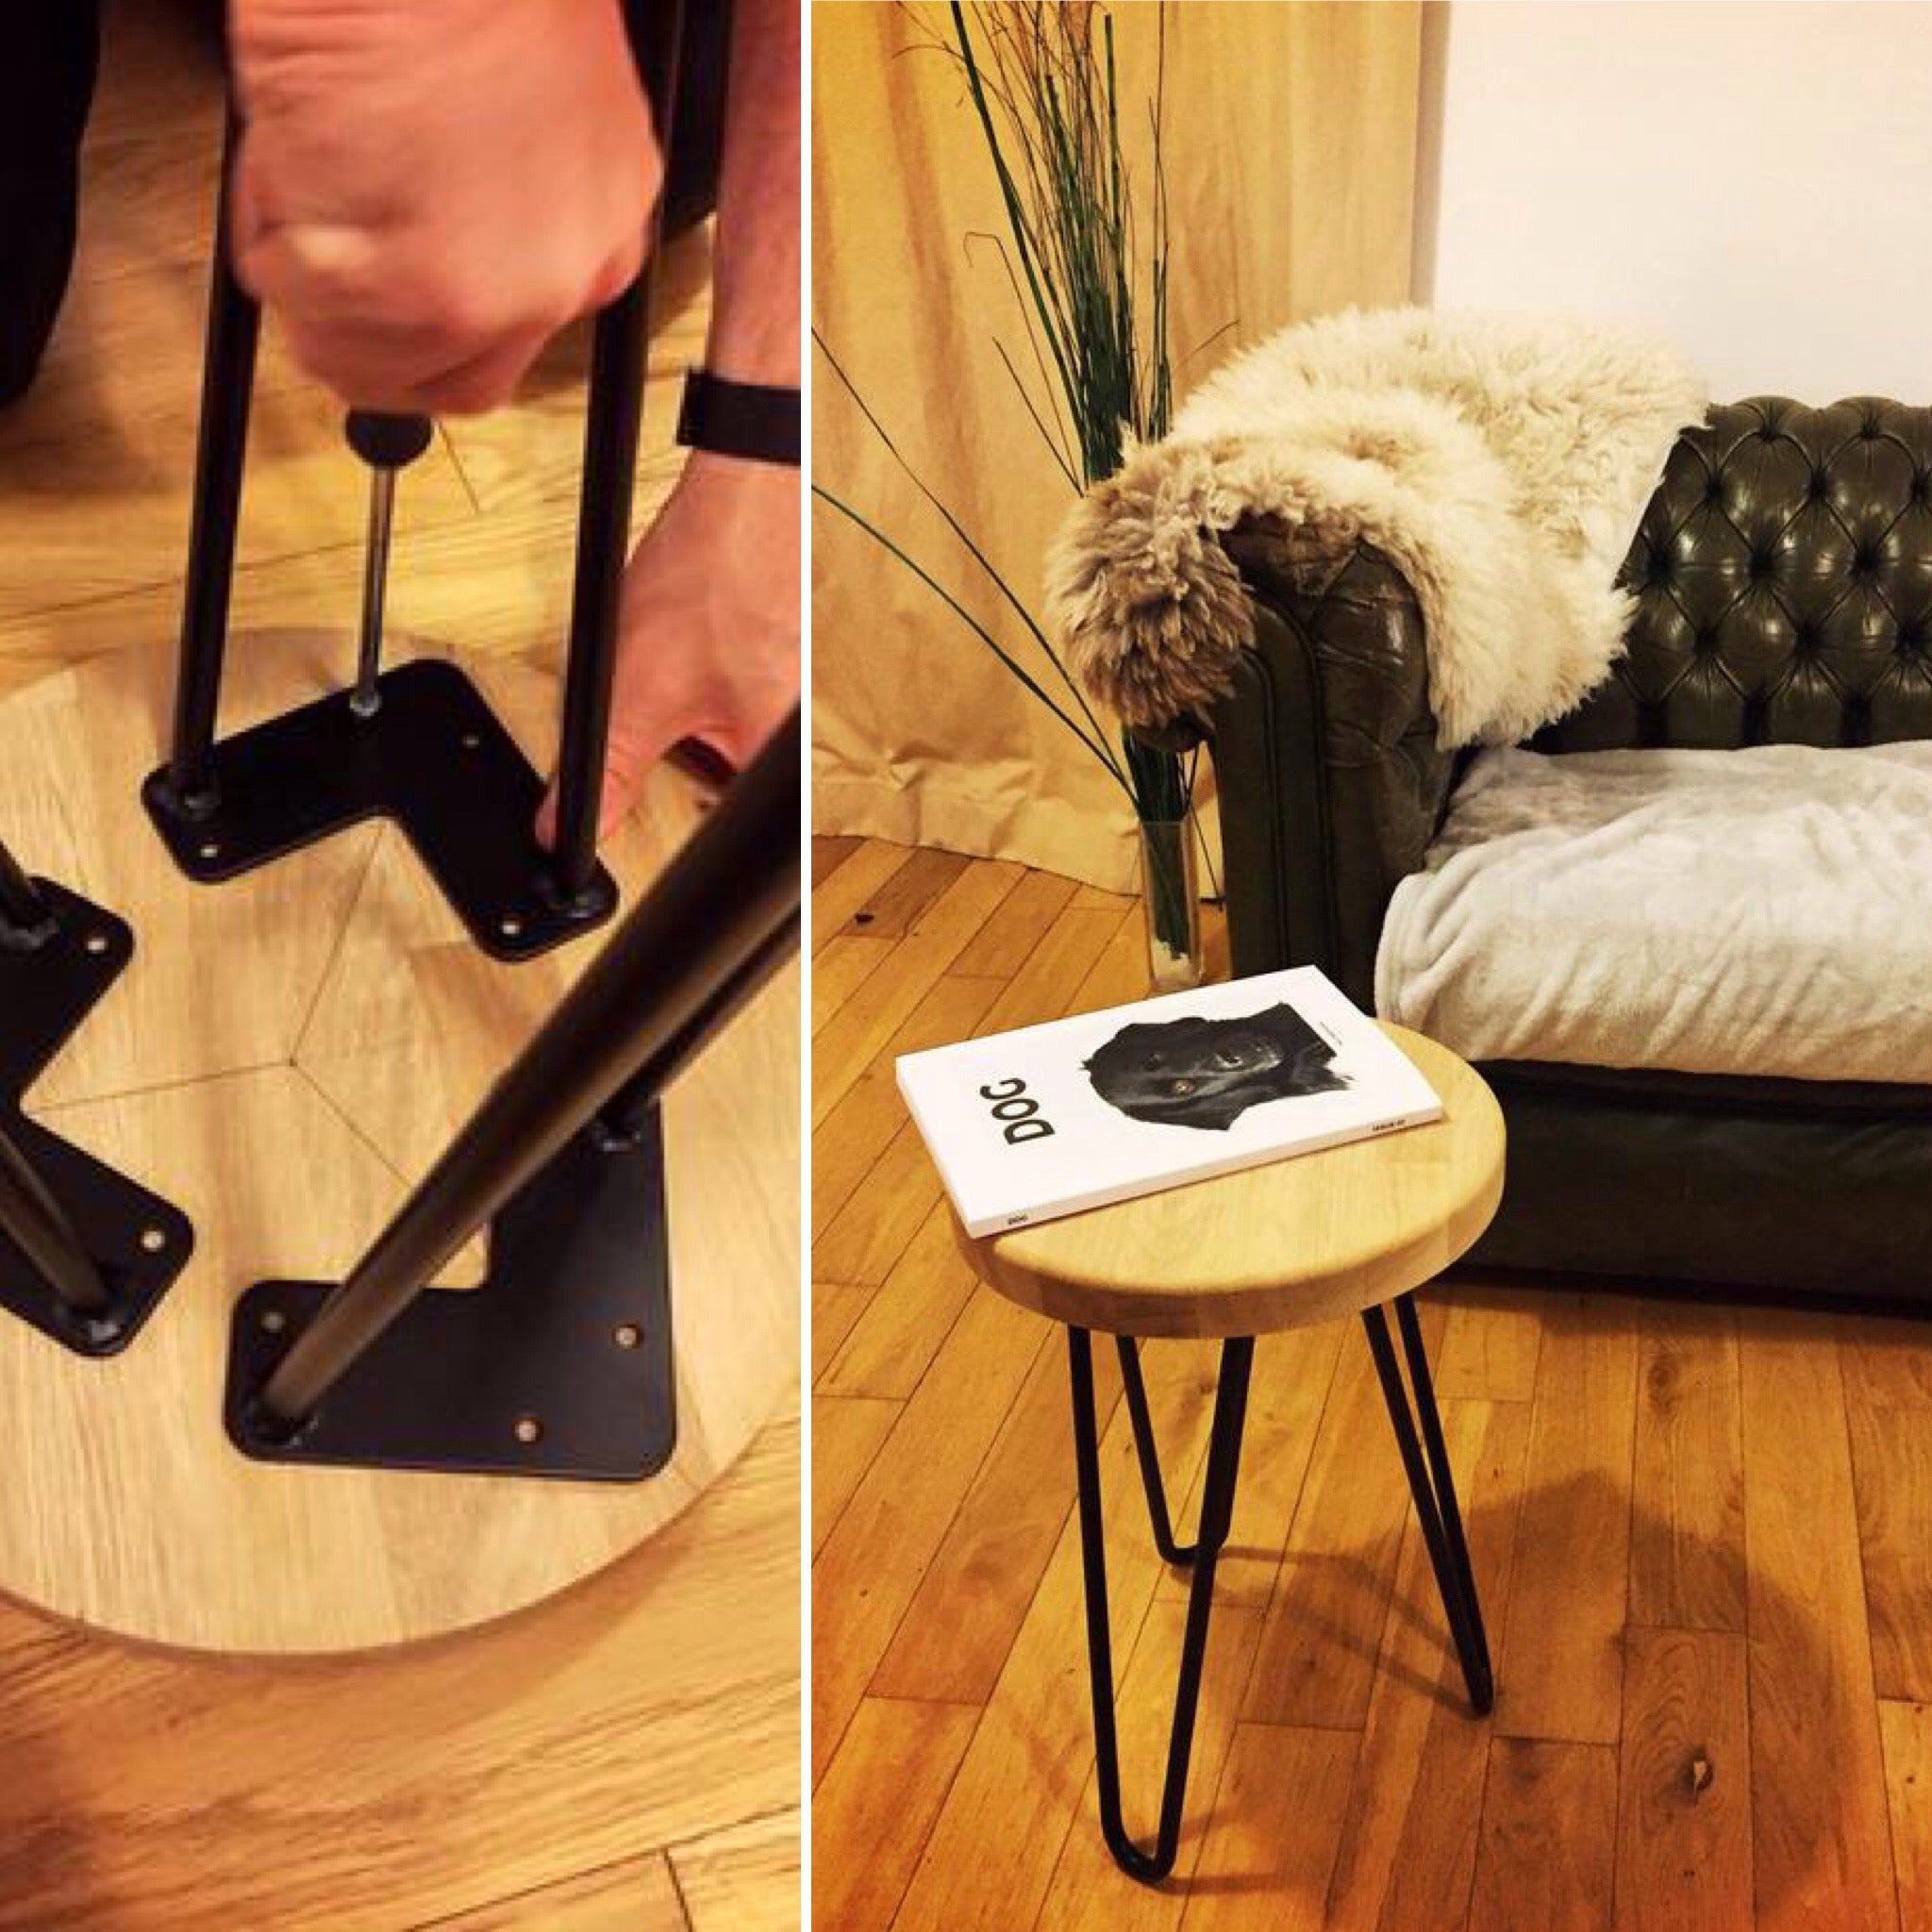
Ah, the simplicity of hairpin legs. You just screw them where you see fit, and you've got a table.
We positioned the legs by eye, without any need to fiddle around with measurements.

The length of the screws should be at least 15mm in length. They should also be a few millimetres shorter than the depth of the wood, to avoid it cracking or piercing through – particularly if you’re using thin wood.
We used 1 inch, No.8 wood screws.
Driving the screws into the wood can take a bit of force, so chug a few cans of spinach beforehand. If the wood is quite hard, drill a pilot hole to help guide the screw and prevent too much force on the wood.
Admire your work
There it is. What a beauty. Look at it. Mum, MUM! Come here! Look at it! It’s amazing. It’s the greatest. I’M THE GREATEST. Aren’t I great? This is the best table ever. I’m going to put things on it. Look at it. Look more! Look harder! Oh it’s so great. Sweet baby Jesus. I’m a genius, me.





3 comments
Leave a comment
This site is protected by hCaptcha and the hCaptcha Privacy Policy and Terms of Service apply.