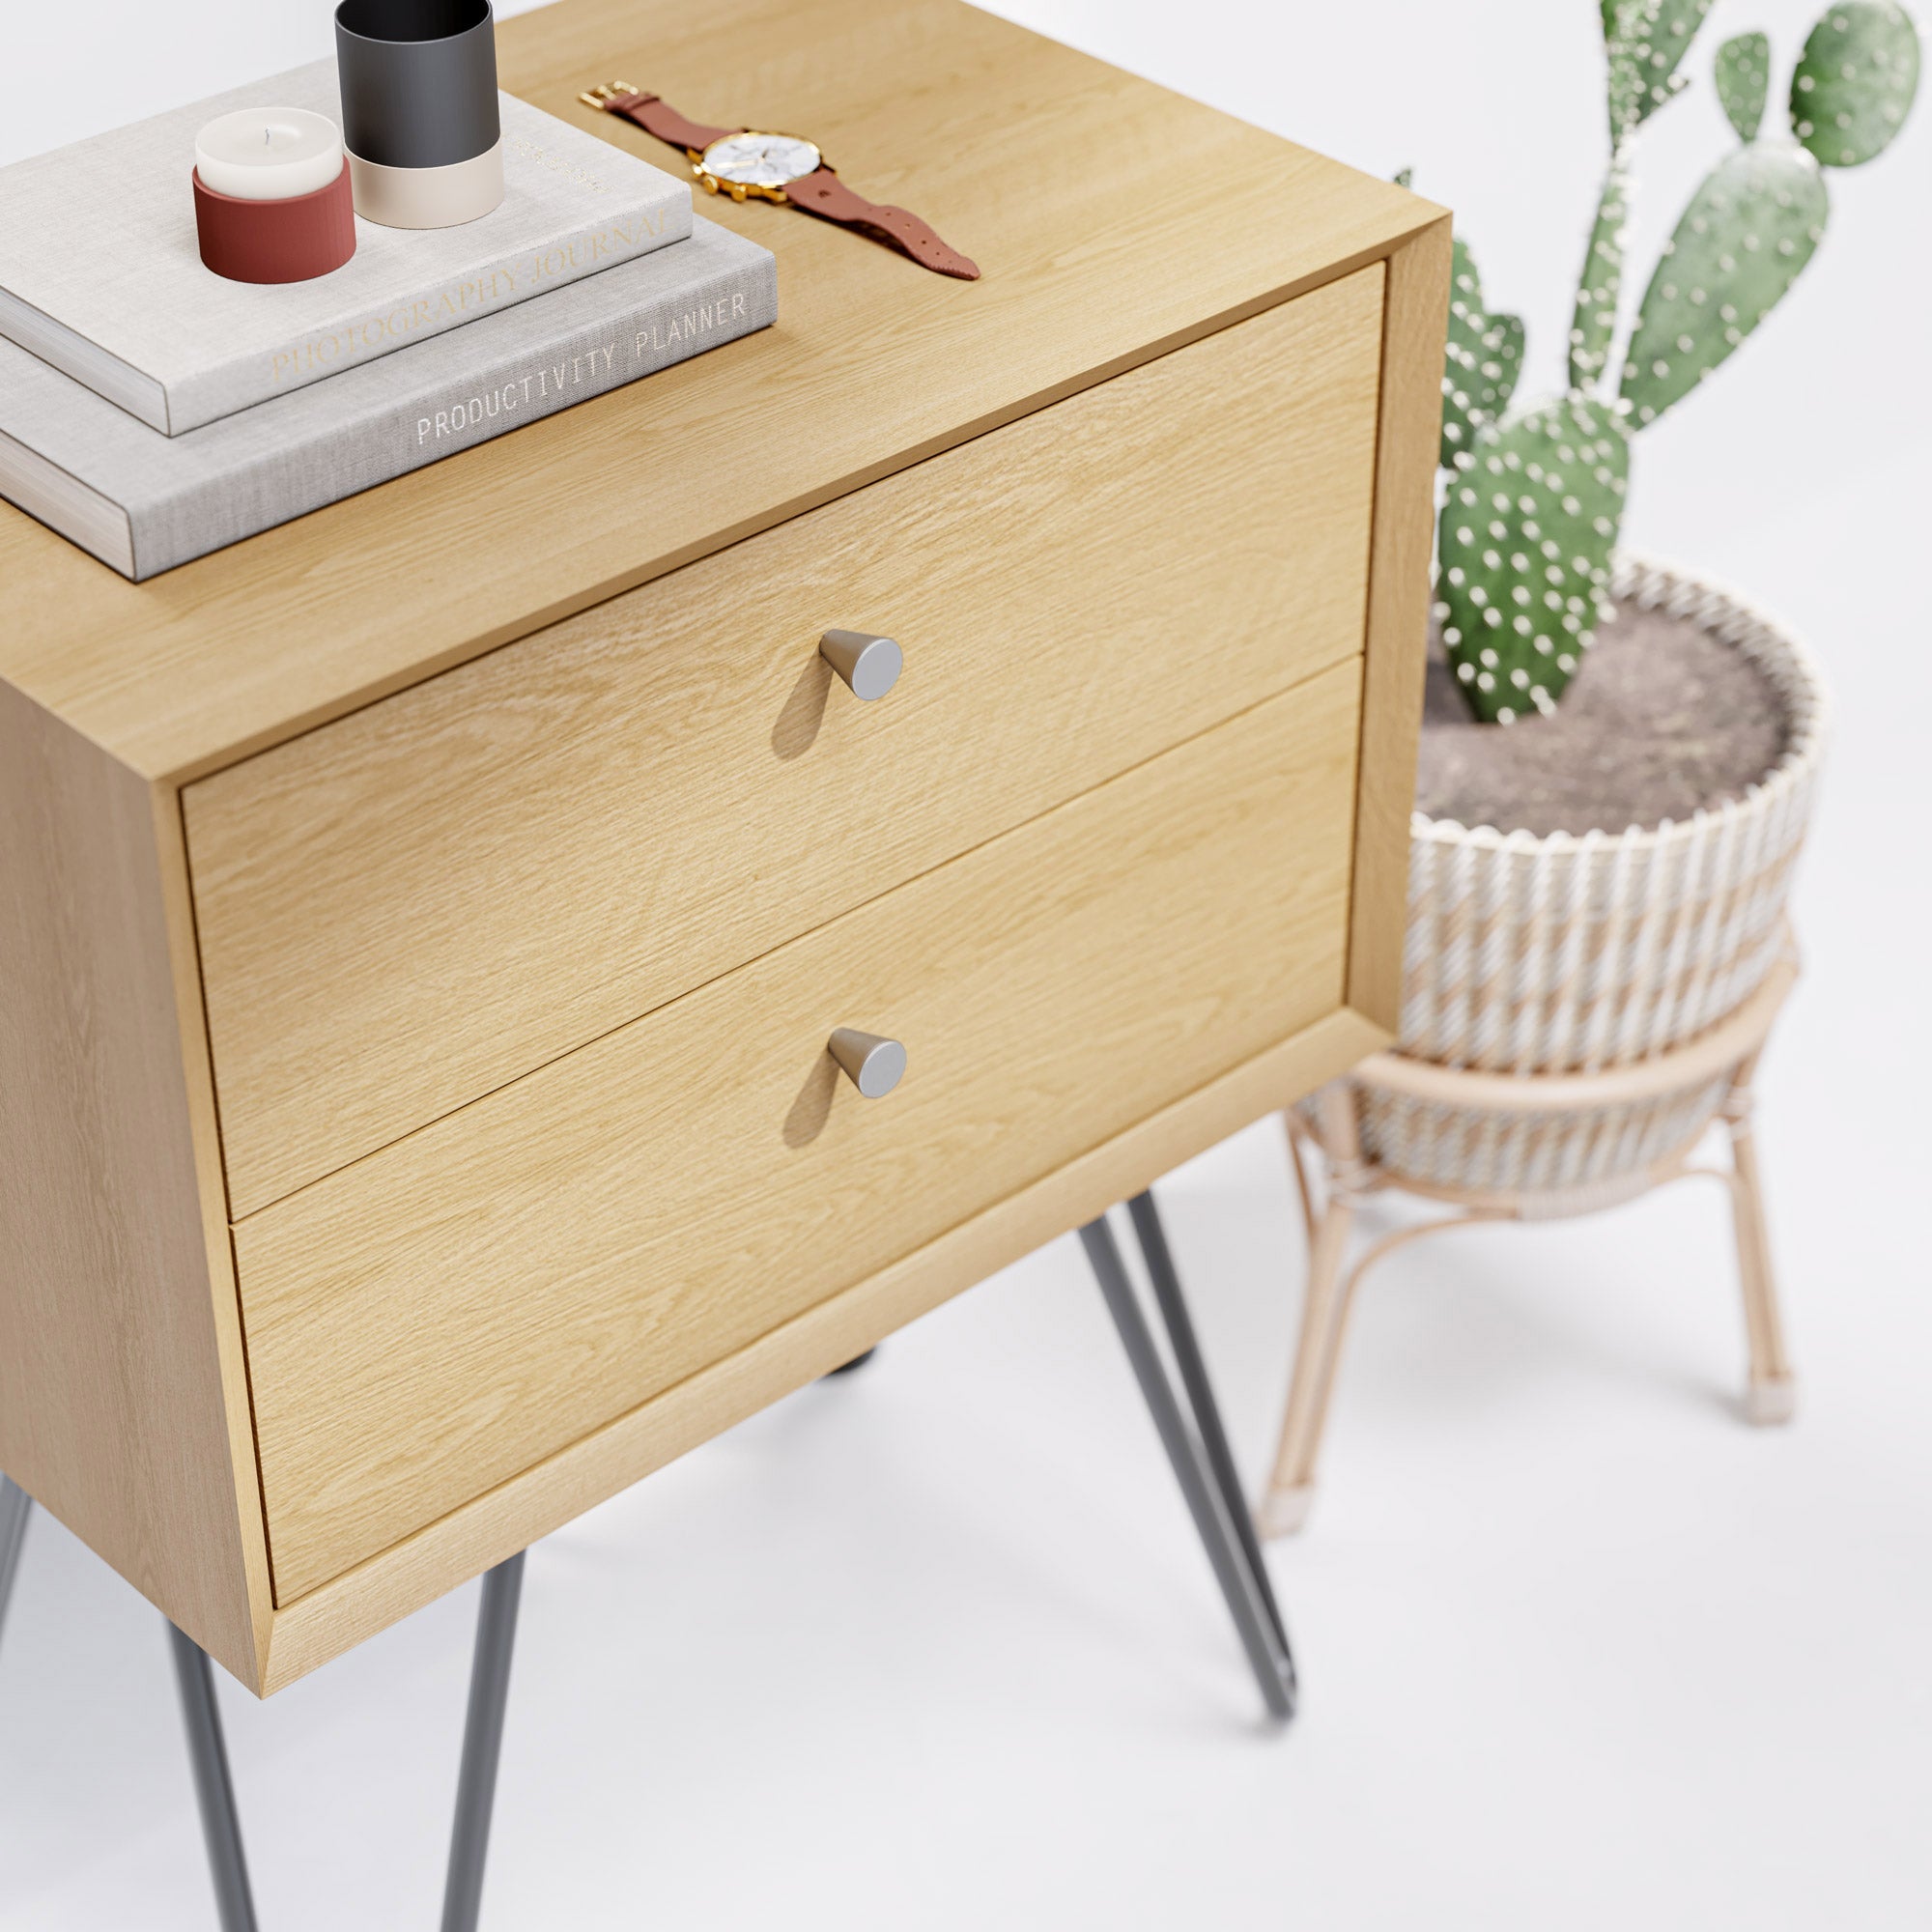

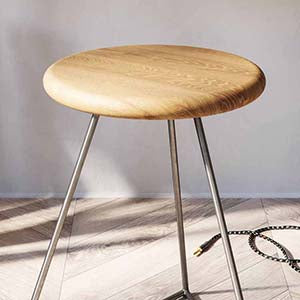
Maybe you’re upcycling an old coffee table in order to breathe fresh life into the living room. Or, perhaps you’re revitalising your office with a makeover for your desk. Either way, hairpin legs are an excellent choice to elevate any space and furniture with their timeless aesthetic.
However, proper hairpin leg installation is essential for proper function and stability. The last thing you want is to cause damage to the furniture itself or harm a loved one if the legs give way.
Don’t worry, we’ll walk you through how to install hairpin legs step-by-step so you can put this stress in the past and feel confident undertaking this project. From choosing the right legs to securing them, we’ll cover everything you need to know.
Our furniture legs in particular are great because installation is quick and easy with all the necessary hardware and a clear builders guide to help you navigate the process. With the best hairpin legs in the UK just a few clicks away, you can take the first step today!
Why We Love Hairpin Legs
First, what are hairpin legs and why are they so popular here in the UK? This classic style can be traced back to the 1940s when they were introduced by Henry Glass. While a lot has changed over the years, they’re still a staple in interior design today.
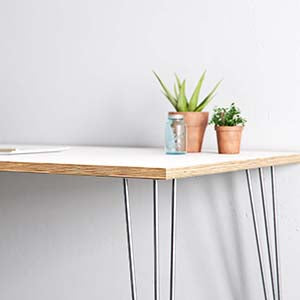
Their sleek, minimalist design offers a blend of vintage charm and modern elegance, making them suitable for a wide range of interior styles, from mid-century modern to contemporary.
You can use them for so many different types of furniture, too, whether you’re seeking table legs, cabinet legs, or anything in between. They’re a great choice for upgrading old furniture or building new pieces from scratch.
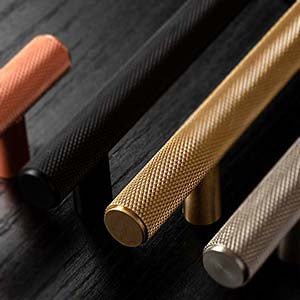
You have access to a diverse range of sizes and finishes, as well - whether you prefer a classic raw steel look, a sleek powder-coated finish, or a vibrant pop of colour, there is something for you.
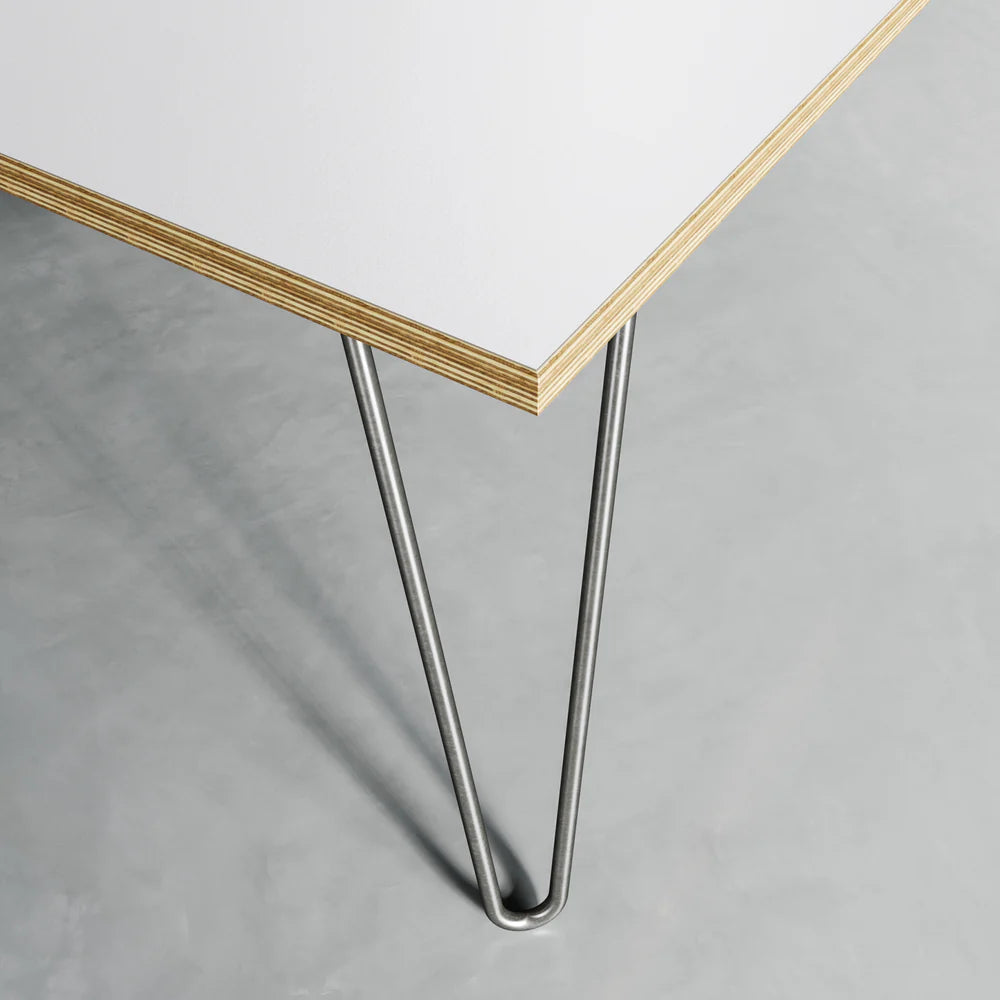
But despite their sleek design, make no mistake, they’re highly durable. At least, when you invest in quality. You’ll typically find them crafted from steel and available in twin and triple-rod designs for additional stability, preventing wobbles or worse, collapse.
Even if you do get the best quality, though, proper hairpin leg installation cannot be taken lightly. It can be the difference between beautifying your furniture and ensuring long-lasting stability and furniture disaster. So, let’s talk about what you need for installing hairpin legs.
What You Need for Hairpin Leg Installation
From choosing the right legs themselves to gathering additional tools and materials, here’s what you need to gather before getting into our guide on how to install hairpin legs.
Choosing the Right Hairpin Legs
As we touched on earlier, there are so many different types of hairpin legs you have at your disposal. This is great because you can easily align the legs with your intended use, preferences, and budget.
Start by assessing the height you need, which will vary depending on whether it's a coffee table, dining table, desk, or something else entirely. Heights range from 10cm to 102cm across most retailers.
Support matters as well, though. Determine what you plan to put on the furniture and ensure that your chosen legs have the proper weight capacity.
The design influences strength and stability as well. Triple-rod styles offer additional support for heavier pieces, while twin-rod styles will work just fine for lighter furniture.
Whether you intend to use the furniture outdoors or indoors plays a role as well. For outdoor furniture, consider stainless steel or a zinc-coated finish to resist rust and weathering. For indoor use, you might prefer raw steel for an industrial feel or powder-coated finishes for a sleek, modern appearance. Select a finish that complements your furniture and the surrounding décor.
Remember, The Hairpin Leg Co. has you covered with the premiere selection of hairpin legs in the UK. Whether you’re looking for coffee table legs, breakfast bar legs, desk legs, bench legs, or anything in between, you can rest assured we have the brilliant, high-quality solution you need. More on that later.
Other Tools and Materials
When you shop with us you get all the necessary hardware for hairpin leg installation. You may also want the following to make the job easier, though:
- Drill: This will be used to pre-drill holes and then to attach legs to the furniture. Ensure you have the appropriate drill bits for both wood and metal, if necessary.
- Screws: These must be compatible with both the hairpin legs and the furniture material. 5mm to 6mm diameter screws are typically suitable. The length of the screws should be enough to secure the legs firmly without penetrating through the surface.
- Measuring Tape and Pencil: A measuring tape will help you mark the correct positions for the legs, ensuring they are evenly spaced and aligned. Use a pencil to mark the spots where you’ll drill holes.
- Screwdriver: While a drill can drive screws, a manual screwdriver can be useful for making final adjustments and ensuring the screws are tightly secured.
- Level: This will help you check the alignment of the legs during installation to ensure your furniture is stable and balanced.
- Clamps (Optional): These help hold the legs in place while you secure them with screws, providing additional stability during the installation process. If you have someone to help you, you may not need clamps.
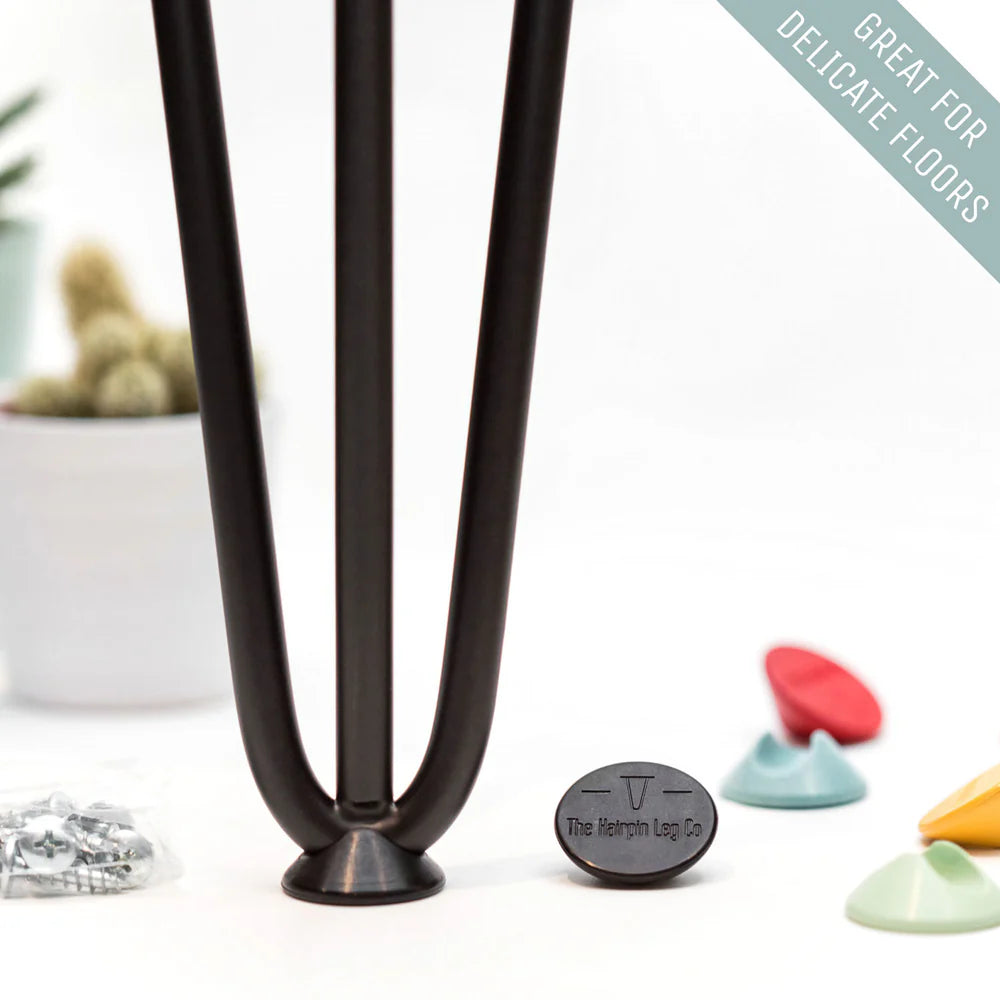
- Protective Pads or Feet: Adding protective pads or feet to the bottom of the hairpin legs can prevent scratches on your floors and add a finishing touch to your project. Don’t worry - we include these as well.
Once you’ve got everything needed for this project, you’re ready to dive in and learn how to install hairpin legs!
How to Install Hairpin Legs: Step-by-Step Guide
Part of what makes The Hairpin Leg Co. the #1 choice in the UK is how easy we make it to navigate hairpin leg installation, even if you have no experience with these types of projects. You get not just beautiful furniture legs but necessary hardware along with a detailed build guide. That said, here’s an overview of the process.
Prepare the Furniture
If you haven’t already, take the time to prepare the furniture piece you’re attaching these legs to. This involves removing old legs if necessary. You should also clean the surface to remove any dirt or debris that could interfere with the installation.
If you are attaching the legs to a new or unfinished piece, sanding the attachment area can help create a smooth surface for better adhesion. If you’re looking for something to attach the legs to, our furniture tops are a great starting point!
Measure and Mark Attachment Points
Mark the positions for the legs on the underside of your furniture. Positioning will vary depending on what you’re attaching the legs to.
For example, we recommend leaving a 50mm gap between the edge of the base plate and the edge of a tabletop so it can sit flush against a wall, even with skirting boards in place. Use the base of the leg as a guide to mark the screw hole positions with a pencil.
Pre-Drill Holes
Pre-drilling the holes prevents the wood from splitting and allows for effortless insertion. Use a drill bit smaller than the diameter of the screws provided - typically, a 2.5mm bit for softwood and a 3mm bit for hardwood will be good.
Drill to a depth that accommodates the screws without penetrating through the top surface. Marking the drill bit with sticky tape can help maintain the correct depth.
Attach the Legs
Now comes the fun part. Align the hairpin legs with the marked positions and use the provided screws to attach them securely. With our legs, use a pozidrive head screwdriver (number 2 size if available). Other manufacturers may provide a different type of screw head with their legs.
Start by partially driving in each screw to ensure the leg stays aligned, then fully tighten all screws. If you prefer a more flexible installation, consider using threaded bolts or inserts, especially for thin tabletops or if you need to remove the legs frequently.
But what if you're trying to attach the hairpin legs tostone rather than wood? Our advice is to use gorilla glue to attach a piece of 18 - 24mm plywood to the underside of the furniture and then screw in the legs as you would normally.
Be aware that screwing directly into stonefor a more polished look is possible, but it’s not something we recommend for DIYers. If this is your vision, enlist the help of a professional.
Check for Stability
At this point, you can flip the furniture over and test its stability. Place it on a level surface and apply gentle pressure to ensure the legs are securely fixed and the furniture does not wobble. Make any necessary adjustments to achieve optimal stability.
Finishing Touches
Our legs arrive ready to be installed as is - but you can also consider applying a finish for a more polished look and for additional protection. This is a great approach for personalising our raw steel legs specifically.
Start with an acid etch primer to ensure the paint adheres well. Follow with two to three thin coats of your chosen topcoat, allowing adequate drying time between coats.
Alternatively, a penetrating oil finish or furniture wax can preserve the natural steel look and protect against rust. Always ensure the legs are clean and dry before applying any finish. Here are some more tips for a professional finish:
- Painting: Use a primer and topcoat designed for metal. Apply thin, even coats to avoid drips and runs.
- Oil Finish: Apply penetrating oil with a rag and let it soak in to create a robust, chip-resistant barrier.
- Wax Finish: Buff the wax to a high sheen for a durable finish suitable for indoor use.
There you have it! You’ve successfully navigated hairpin leg installation and now have a beautiful piece of furniture. If you run into any questions along the way, don’t hesitate to reach out to our customer service team.
At this point, though, there’s only one thing left to do if you haven’t already…
Take the First Step Towards Hairpin Leg Installation With Our Stunning Selection Today!
Since 2013 we’ve been the trusted choice for hairpin legs as well as all sorts of other metal furniture legs and wooden furniture legs. DIYers, makers, and professionals rely on our products for consistent results every time.
You can browse a variety of sizes, finishes, and styles to discover the perfect pick or your unique vision. From the best dining table legs to coffee table legs, to bench legs, desk legs, cabinet legs, and more, nothing is impossible when you source quality hairpin legs from us.
Orders over £50 ship free here in the UK, and your purchase is protected by our 60-day money-back guarantee alongside a 5-year warranty. So, what are you waiting for? Bring your furniture to life today!
Final Thoughts on How to Install Hairpin Legs
We hope this guide on how to install hairpin legs has left you feeling clear and confident in the process. This sleek, timeless style has the power to elevate any space, and any type of furniture.
Now that you know where to find quality legs and how to get them attached, you can make it happen with as little work as possible! When in doubt, remember to reach out for personalised assistance navigating the installation process.
Our blog has additional resources on how to install furniture legs in general and other insights, like how to make hairpin legs without welding, how to fix hairpin legs, how to install sofa legs, the best table leg design, the best way to connect table legs, and more.
But whether you came here for the best metal table legs or the best desk legs or anything in between, the only thing left to do is find your favourite style in our catalogue. Shop today and make your dream furniture a reality through simple, stunning hairpin leg installation!
Leave a comment
This site is protected by hCaptcha and the hCaptcha Privacy Policy and Terms of Service apply.