

Whether you’re upcycling an old dining table top and giving it a makeover or you’re building a coffee table from scratch, figuring out the most secure attachment for the legs cannot be overlooked. This ensures a solid foundation that also elevates the aesthetic of your new table.
That’s why we created this quick guide on how to attach wooden table legs to help you feel confident bringing your furniture to life and enjoying peace of mind knowing it will stand strong for years to come.
If you still need to buy table legs in the UK for the project, look no further than the brilliant selection we have in store for you at The Hairpin Leg Co.
We’ve been the premier choice for more than a decade now, and we’re thrilled to unveil our new wooden table legs for those seeking a rustic edge in their home or office. Explore the collection now and find out why DIYers and manufacturers alike prefer our wooden furniture legs!
How to Attach Wooden Table Legs: Step-by-Step Guide
Before we get into how to attach wooden legs to a table, we do want to mention that the actual instructions will vary depending on the legs you have specifically.
We’ll offer general insights along with tips on how to install furniture legs from The Hairpin Leg Co. if you choose to source your furniture legs through us. That being said, let’s start there - figuring out where to buy wooden furniture legs and picking the perfect style!
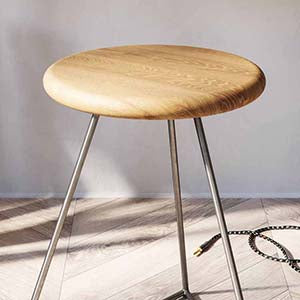
Choosing the Right Wooden Table Legs
The legs you choose for your table influence its strength, stability, and aesthetics - so this is not something that you can take lightly!
While DIY wooden furniture legs is certainly one approach, we recommend sticking to professionally crafted legs because they offer reliability the average DIYer simply cannot replicate.
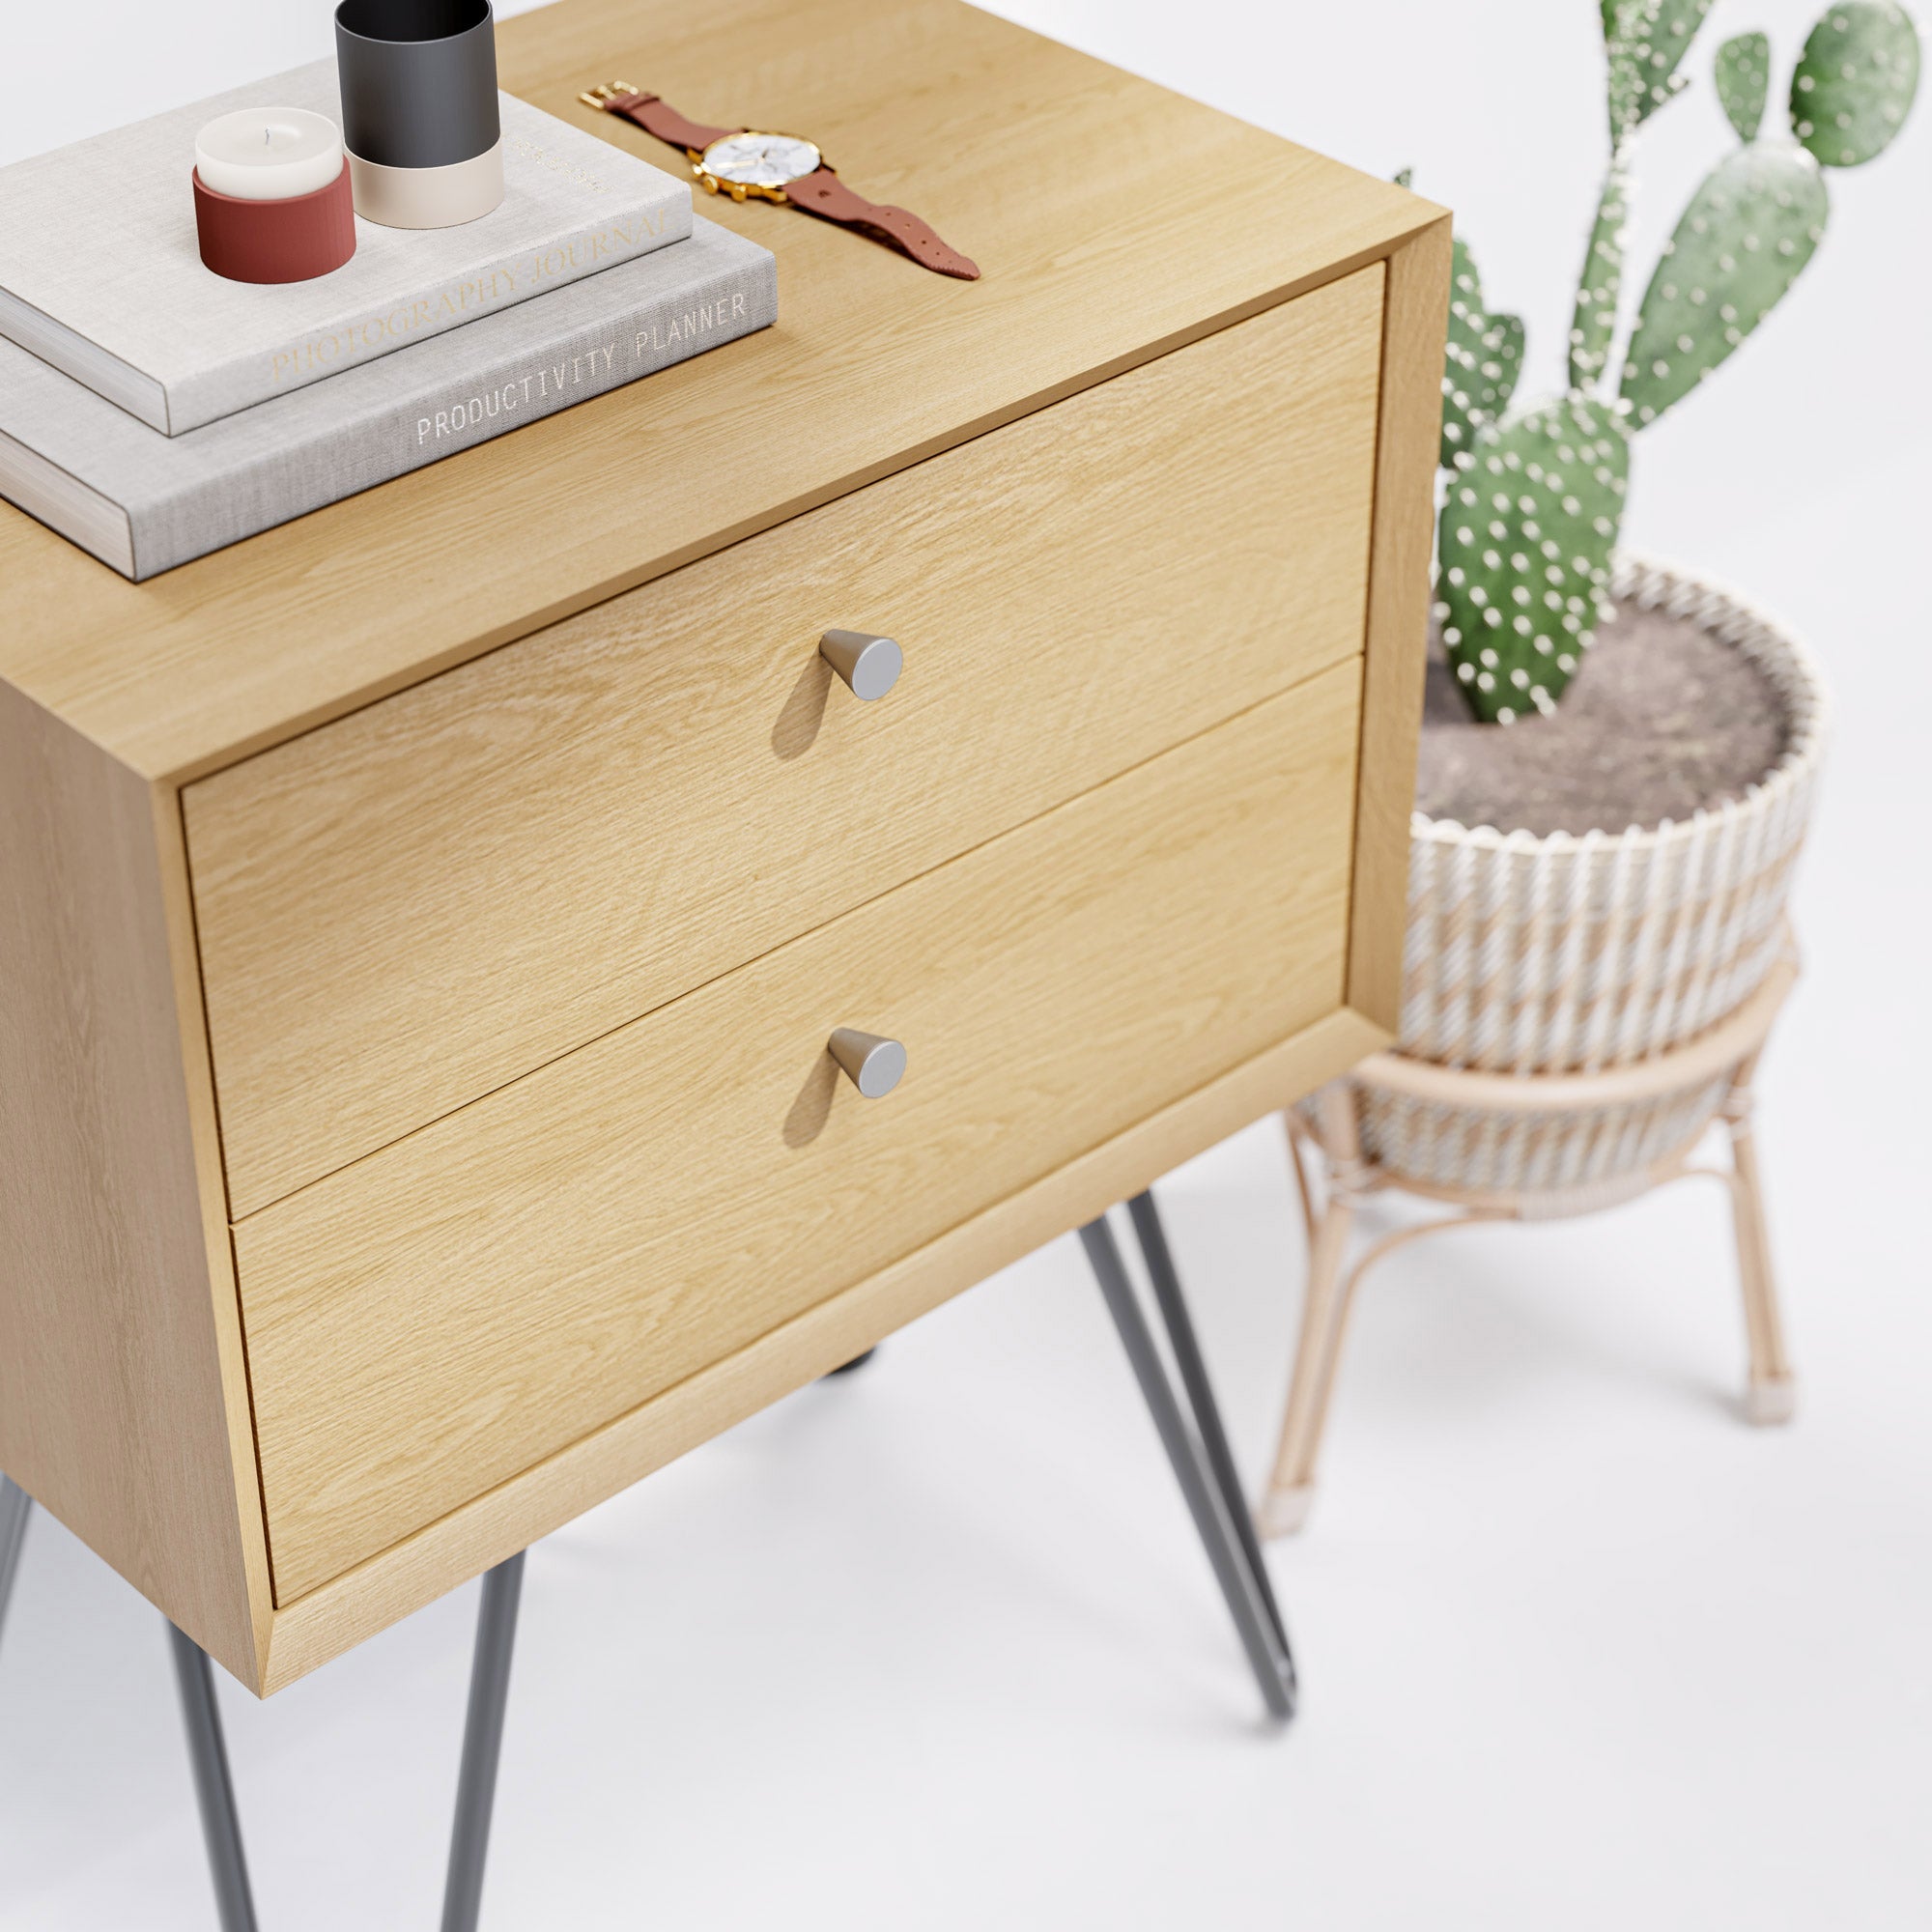
Start by thinking about your tabletop’s design and the room decor, as you’ll want to make sure the style of your legs aligns to create a cohesive look and feel. Whether you prefer a traditional, rustic, or modern look, there is something for you.
Size matters too - the legs must be proportionate to the table’s size. Standard dining table leg height ranges from 71-76cm, providing enough clearance for chairs and legroom. On the other hand, coffee tables sit a bit lower at between 20-40cm. The thickness and width should also support the tabletop’s weight without appearing bulky or flimsy.
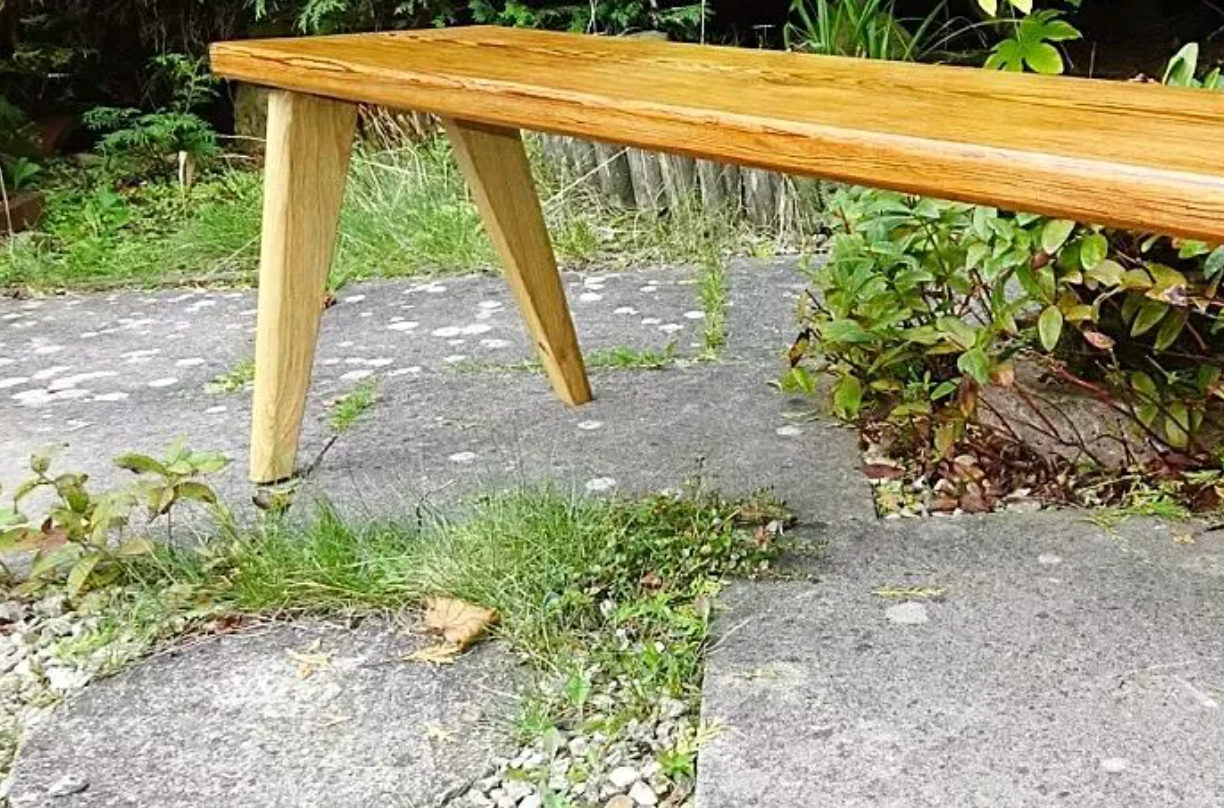
In terms of quality, it’s worth paying more for high-quality wood that can withstand wear and tear. Hardwoods like oak, maple, or walnut are durable and can support more weight, making them ideal for table legs. Look to see if the legs are coated for even greater durability and longevity.
When shopping, look for a reputable retailer known for quality craftsmanship and customer service. Check reviews and see if the brand provides detailed product descriptions and support.
As we said from the start, you can rest assured you’re getting the best table leg design and unparalleled quality when you shop with us - but truthfully, it’s our customer service that keeps people coming back for more! We’ll talk more about why you should shop with us later on.
Other Essential Tools
Of course you need quality wooden table legs - but you’ll also need a few other tools to ensure a smooth, secure attachment process:
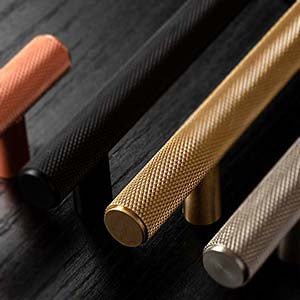
- Drill and Drill Bits: A power drill for making pilot holes and a set of drill bits suited for the size of screws or bolts you'll use.
- Screws or Bolts: Choose heavy-duty screws or bolts that can securely attach the legs to the tabletop.
- Wrench or Screwdriver: Depending on whether you use bolts or screws, have a wrench or screwdriver on hand to tighten them.
- Wood Glue: For extra stability, wood glue can be applied where the legs attach to the table.
- Measuring Tape and Square: Ensure everything is aligned correctly and evenly spaced.
- Level: To check that the tabletop will sit flat once the legs are attached.
Removing Old Table Legs if Necessary
If you’re replacing the legs on an old tabletop, you’ll need to safely remove them before proceeding any further. This isn’t as simple as ripping them out because you don’t want to harm the attachment points in the tabletop itself.
Take the time to assess how the legs are attached - are they screwed, bolted, or glued? From there, you can remove any necessary fasteners or gently tap the legs with a mallet if they’re glued.
Once the legs are removed, clean any old glue or debris from the attachment points to ensure a smooth surface for the new legs.
With the old legs out of sight and out of mind you can take any necessary steps to prepare your tabletop. This includes repainting or refinishing the table, marking attachment points with a pencil for precise attachment later on, etc.
Overview of Attaching Wooden Table Legs
Now comes the fun part - actually learning how to attach wooden legs to a table! It’s a fairly simple 4 step process when you order from The Hairpin Leg Co.:
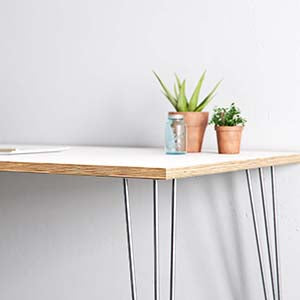
- Positioning the Legs: Align the angled edges of the leg fixing plate with the edges of the table, pointing towards the corners. For our table height legs, position the fixing plate approximately 120mm from the edge. For bench legs, adjust to about 80mm from the edge.
- Drilling Pilot Holes: A small 1-2mm pilot hole is recommended for hardwoods to ease the screw in and reduce the risk of cracking. This maintains the integrity of the wood.
- Securing the Legs: Use the provided 4.5mm wood screws for tables over 18mm thick. For larger or heavier tables, opt for 5mm wood screws to maximise engagement and stability. Ensure the screws are tightly fastened to avoid any wobble.
- Using Threaded Inserts for Flexibility: If your table will undergo frequent assembly and disassembly, consider using threaded inserts. An M5 bolt and a 5mm threaded insert provide flexibility, accommodate wood expansion, and simplify reassembly.
It’s worth mentioning that the best way to connect table legs differs based on the table top in question. For example, solid wood and plywood are strong enough for the legs to be screwed directly into.
But for materials like laminate, veneer, or tabletops with a hollow core, direct screwing isn’t advisable as these materials can degrade around the screw, leading to instability.
In these cases, you may want to opt for one of our freestanding table frames, which provide excellent support for heavier projects and do not require screwing into the tabletop. You can secure the tabletop to the frame with strong adhesive or heavy-duty double-sided tape if desired.
Otherwise, if you prefer non-freestanding legs, reinforce the attachment point by gluing a piece of 24mm plywood, cut slightly smaller than your tabletop, to the underside. This provides a solid base to screw the legs into and ensures durability.
Troubleshooting Before Using Your New Table
At this point your legs should be attached - now you just need to troubleshoot the project to ensure stability. Apply slight pressure to various areas of the table to check for any movement. Tighten any loose screws if necessary.
It’s also a good idea to place a level on the tabletop to ensure it's even. Adjust the legs or add shims under the legs if needed to level the table. We have more tips on how to stabilise wooden table legs if necessary.
Maintaining Newly Attached Wooden Table Legs
You worked hard to attach your new wooden table legs, so it’s worth offering a bit of TLC to keep them looking stunning for the long haul.
This includes regular cleaning with a slightly damp cloth. Avoid harsh chemicals that could damage the wood finish. You should also be sure to protect your wooden furniture legs from moisture to avoid warping or other types of water damage.
The Importance of Secure Table Leg Attachments
As we said earlier, learning how to attach wooden legs to a table is not something that can be overlooked given its role in stability, longevity, and aesthetics.
Stability and Functionality
A table with securely attached legs will provide a stable surface that doesn’t wobble or tilt under weight. This not only supports better table functionality but also the comfort of users.
Whether it’s used for dining, as a workspace, or for holding decor items, a stable table ensures that activities can be carried out without interruption or inconvenience caused by movement.
Durability and Longevity
Properly fixing the legs to your table prevents undue stress on the connection points when the table is moved or under load. This helps avoid structural damage over time to extend the life of your table.
Safety
An unstable table can be a hazard, especially in homes with children or in commercial settings where heavy usage is common. Our wooden legs can support up to 60kg - but only with proper installation!
Ensuring that legs are securely fastened to the table top prevents the table from collapsing, which can lead to injuries or damage to other property.
Aesthetic Integrity
Part of why you’re upgrading your table legs is to enhance the aesthetic of your space. But, loose or wobbly legs can detract from the look of the table and give an impression of poor quality or lack of maintenance. Secure leg attachments keep the table looking as good as new and ensure it functions as a cohesive piece of furniture.
Discover the Finest Wooden Table Legs in the UK at The Hairpin Leg Co.!
Hopefully, this guide on how to attach wooden table legs has left you feeling clear and confident in your next steps! At this point, there’s only one thing left to do now that you know how to attach legs to a table - order the finest table legs in the UK if you haven’t done so already!
Since 2013 we’ve been the #1 provider of high-quality furniture legs for both DIY projects and professional manufacturing processes. You can find a wide variety of styles to choose from in our catalogue, including metal table legs. Narrow your search below:
Our wooden table legs specifically are sleek and minimalist, available in sizes as small as 20cm and as large as 86cm. They’re crafted from high-quality European oak and coated in a natural look hard wax oil finish. This ensures a beautiful earthy feel for a bright, modern look.
All our legs are backed by 60-day returns and a 5-year warranty - that’s how confident we are you’ll love the legs! So, what are you waiting for? Shop now and discover the finest legs online as we wrap up our guide on how to attach wooden table legs.
Final Thoughts on How to Attach Wooden Legs to a Table
Attaching wooden legs to a table influences the stability, durability, and safety of your furniture. That’s why we took the time to put together this guide on how to attach wooden legs to a table, so you can feel confident undertaking this project yourself.
We have more resources on topics like how to change dining table legs, how to fix table legs, how long are dining table legs, and more. But why not explore the stunning styles we have in store for you today? From the best metal table legs to the best dining table legs made from wood, we’ve got it all for you here at The Hairpin Leg Co.
Elevate your home or office today with thoughtfully designed, long-lasting table legs!

Leave a comment
This site is protected by hCaptcha and the hCaptcha Privacy Policy and Terms of Service apply.